In this blog, I will show you how to implement CI/CD for Dynamics 365 CE and how can we deploy the solution from one source (in my case it is Dev) environment to multiples CE environments.
We Have one Dev and two target environments where I will be deploying the managed build from Dev.
Build Pipeline
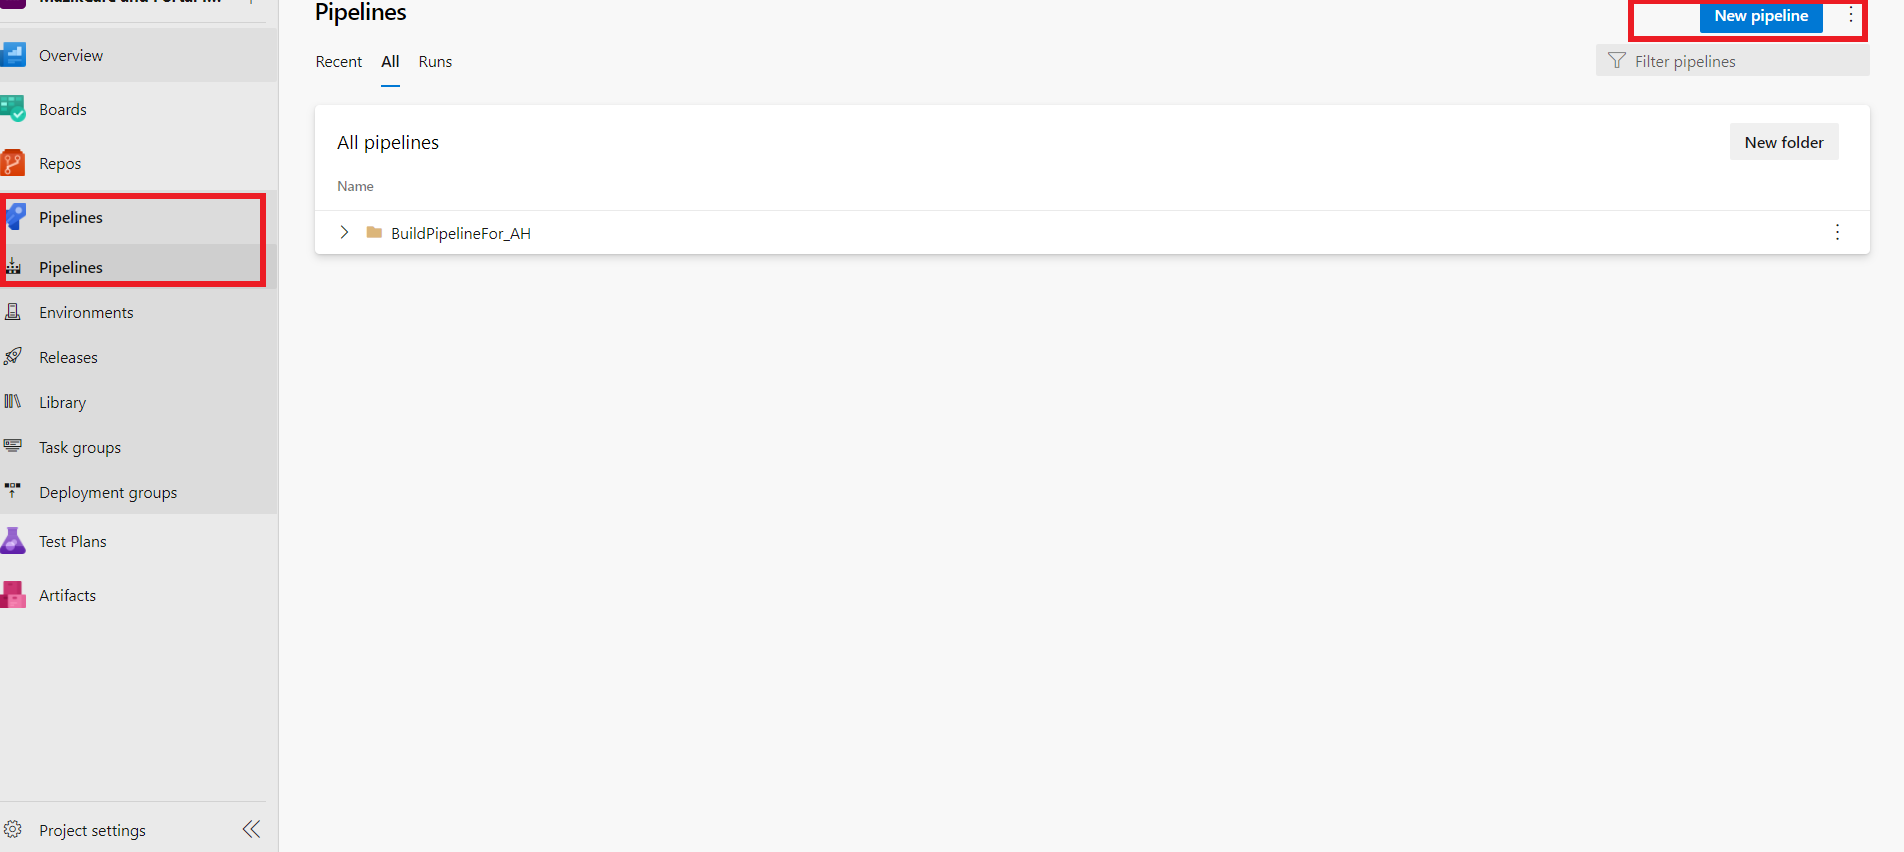
- Go to the Azure Devops and select your project.
- Navigate to the Pipeline and click on the “Create Pipeline”.
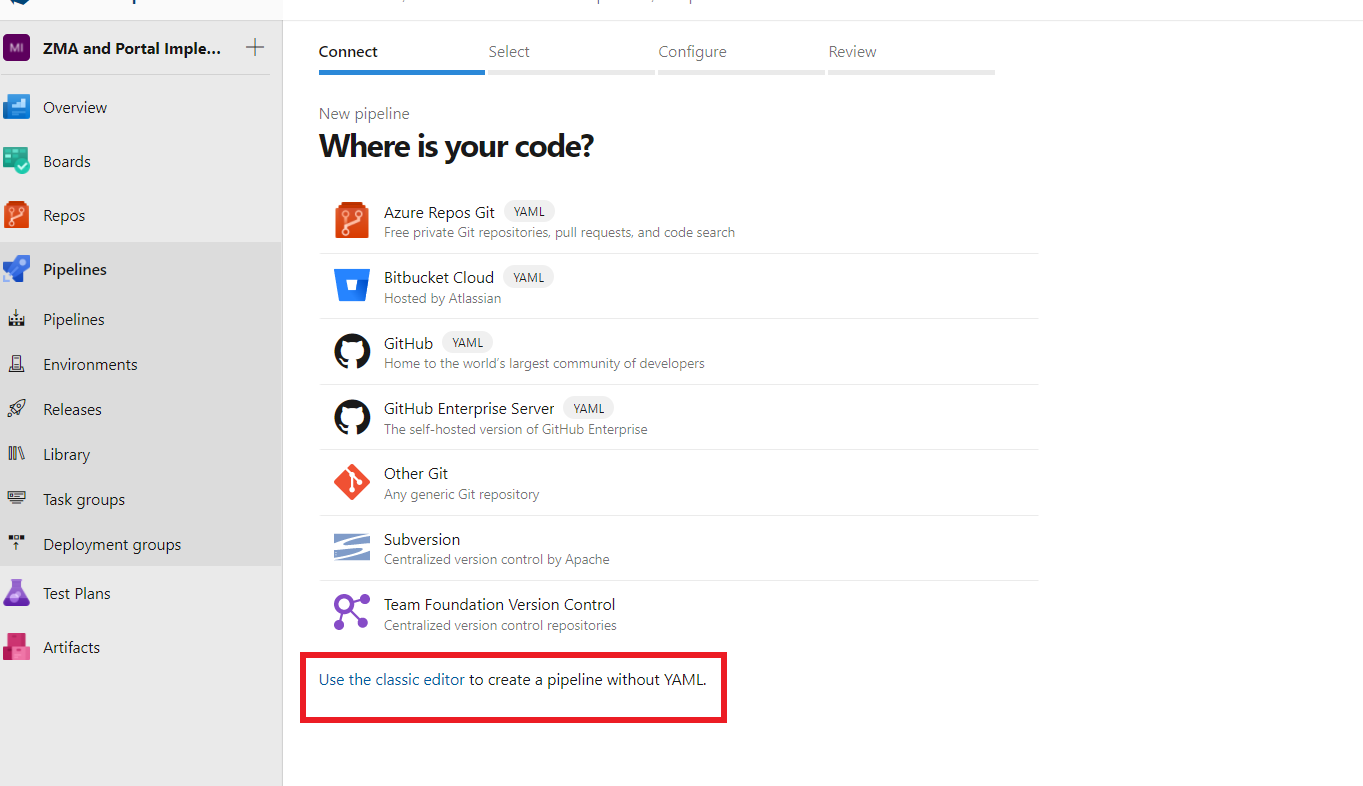
- Now click on “Use the Classic Editor” and then you can configure the Pipeline through the graphical UI.
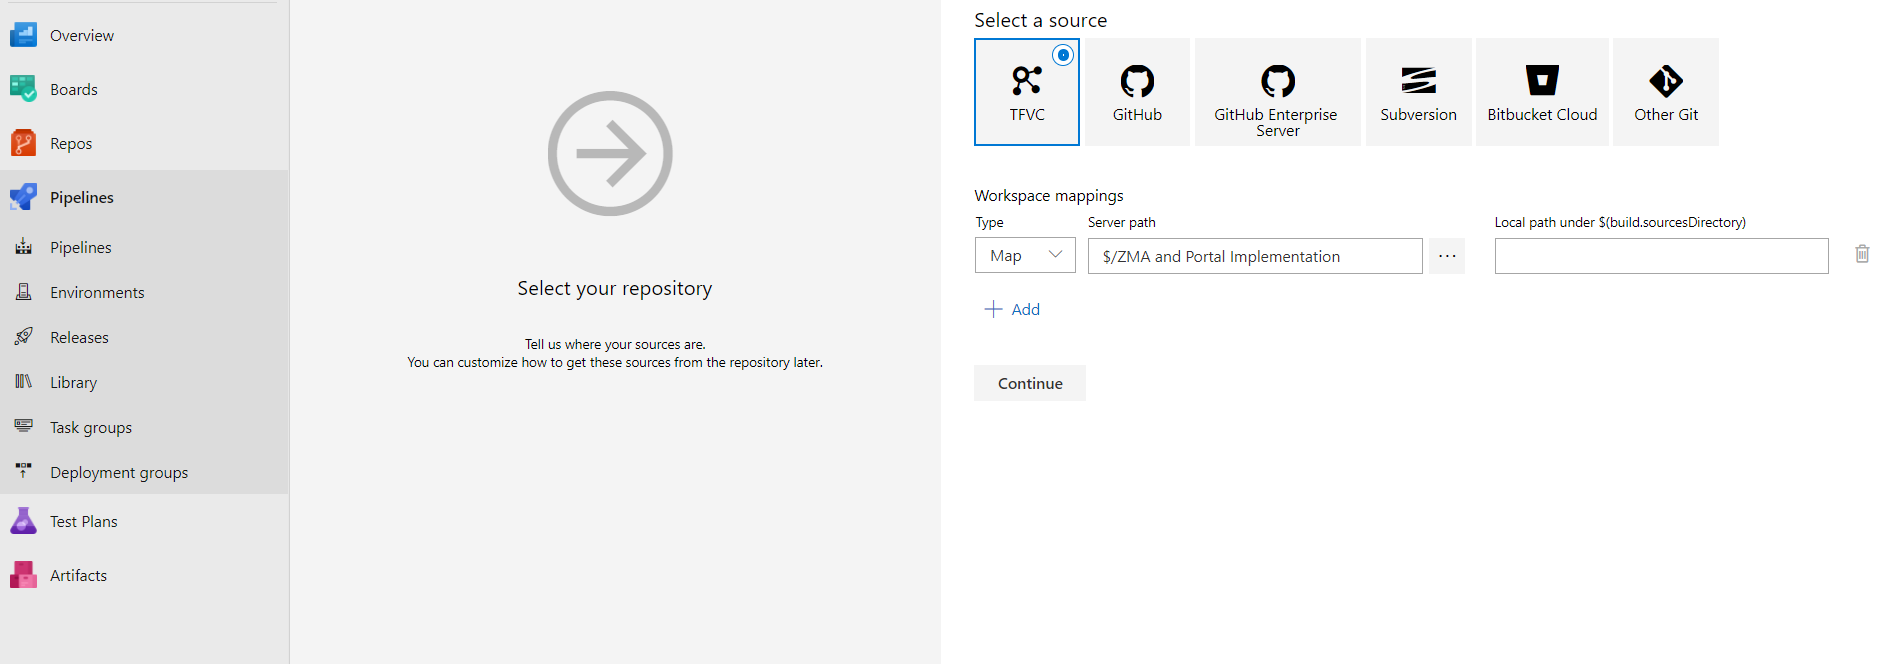
- Now you need to select TFVC/Repository although I won’t be using any repository in our Pipeline but this is the mandatory step to move forward but you can use TFVC/Repository to save your solution on the server for the backup if you want.
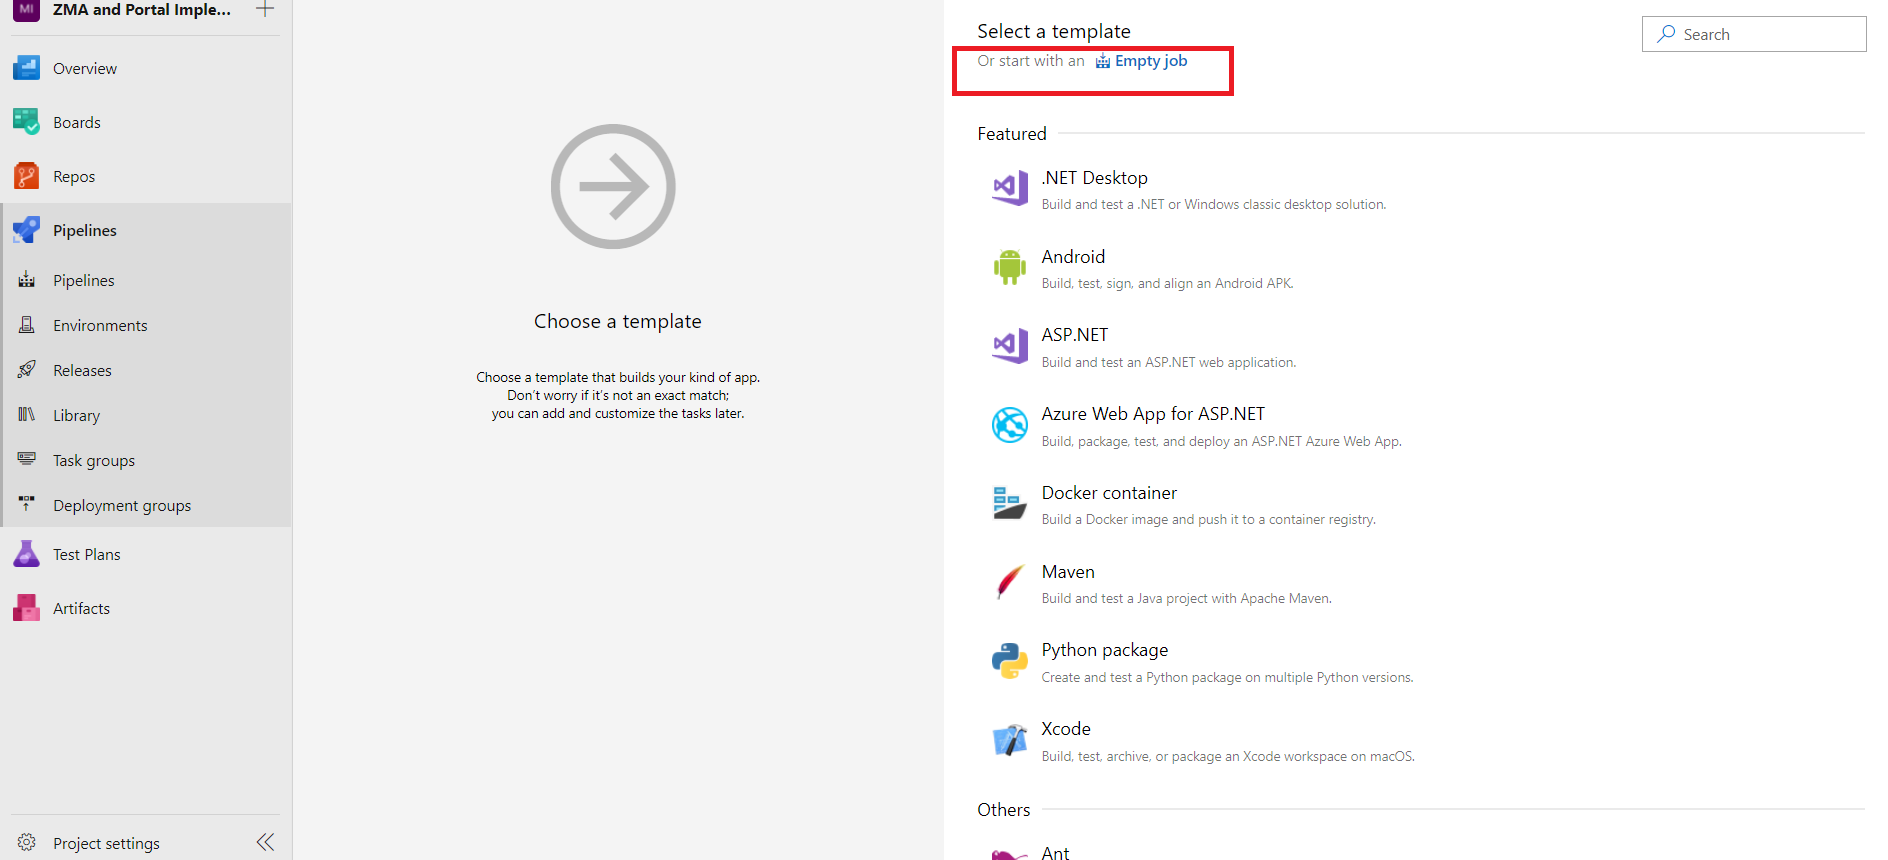
- Select “Empty Job” to start building your Pipeline.
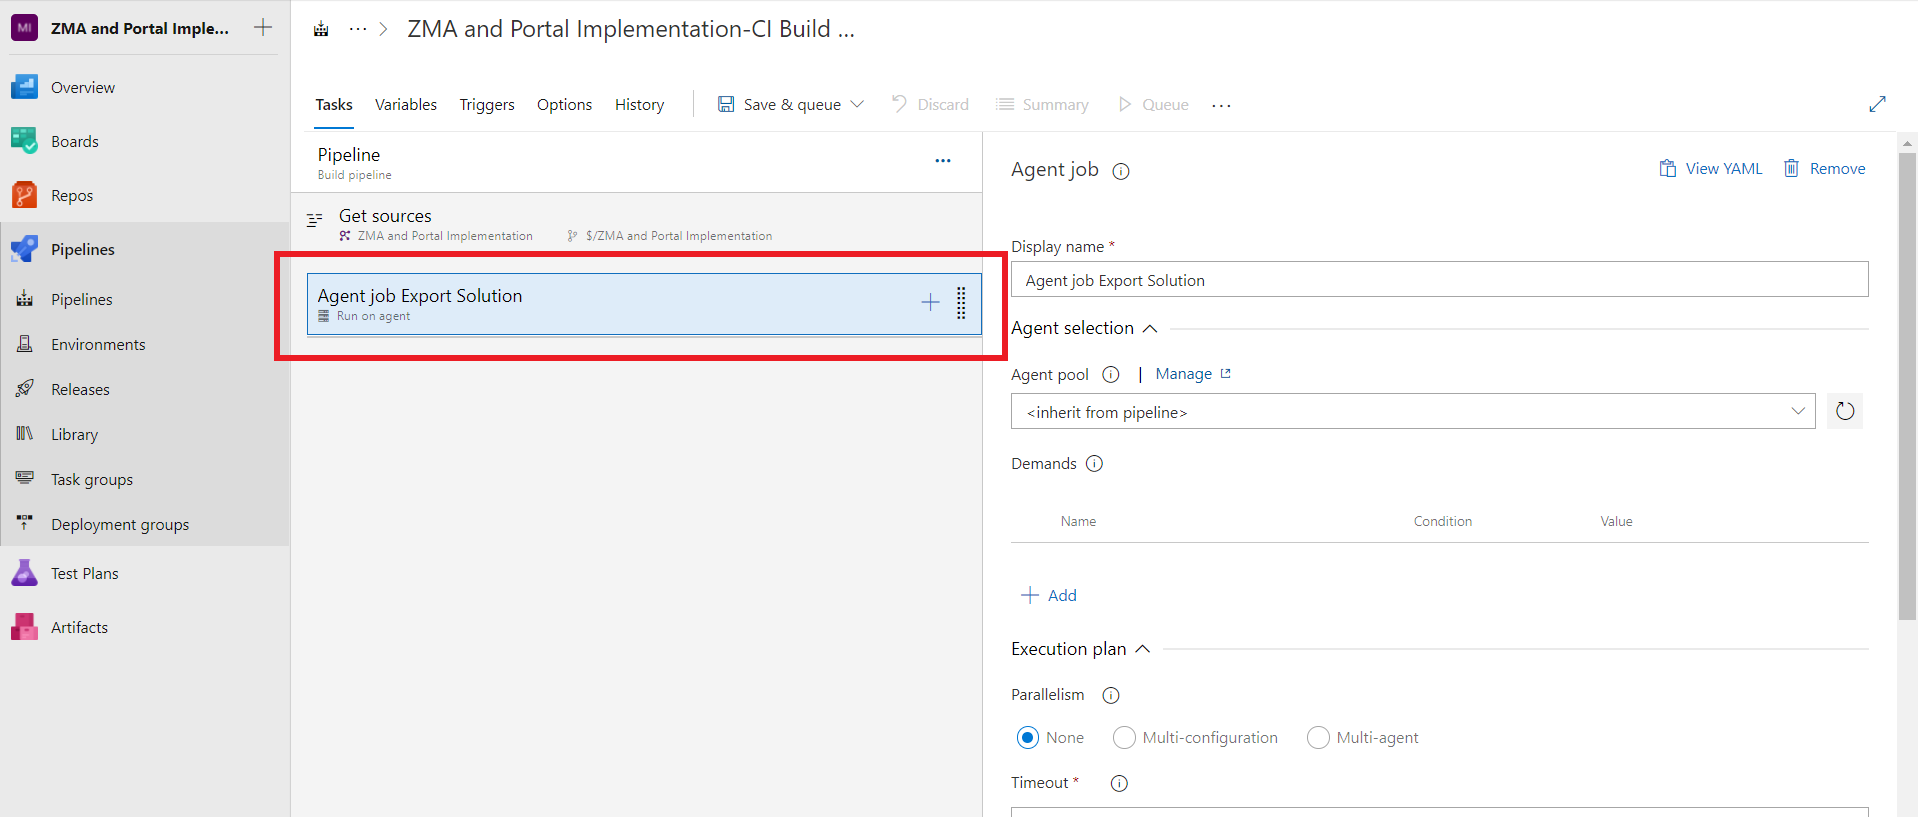
- You will be seeing the Empty Job screen, Rename the Agent Job.
- Click on + and add the new task and search for “Power platform Tools”.
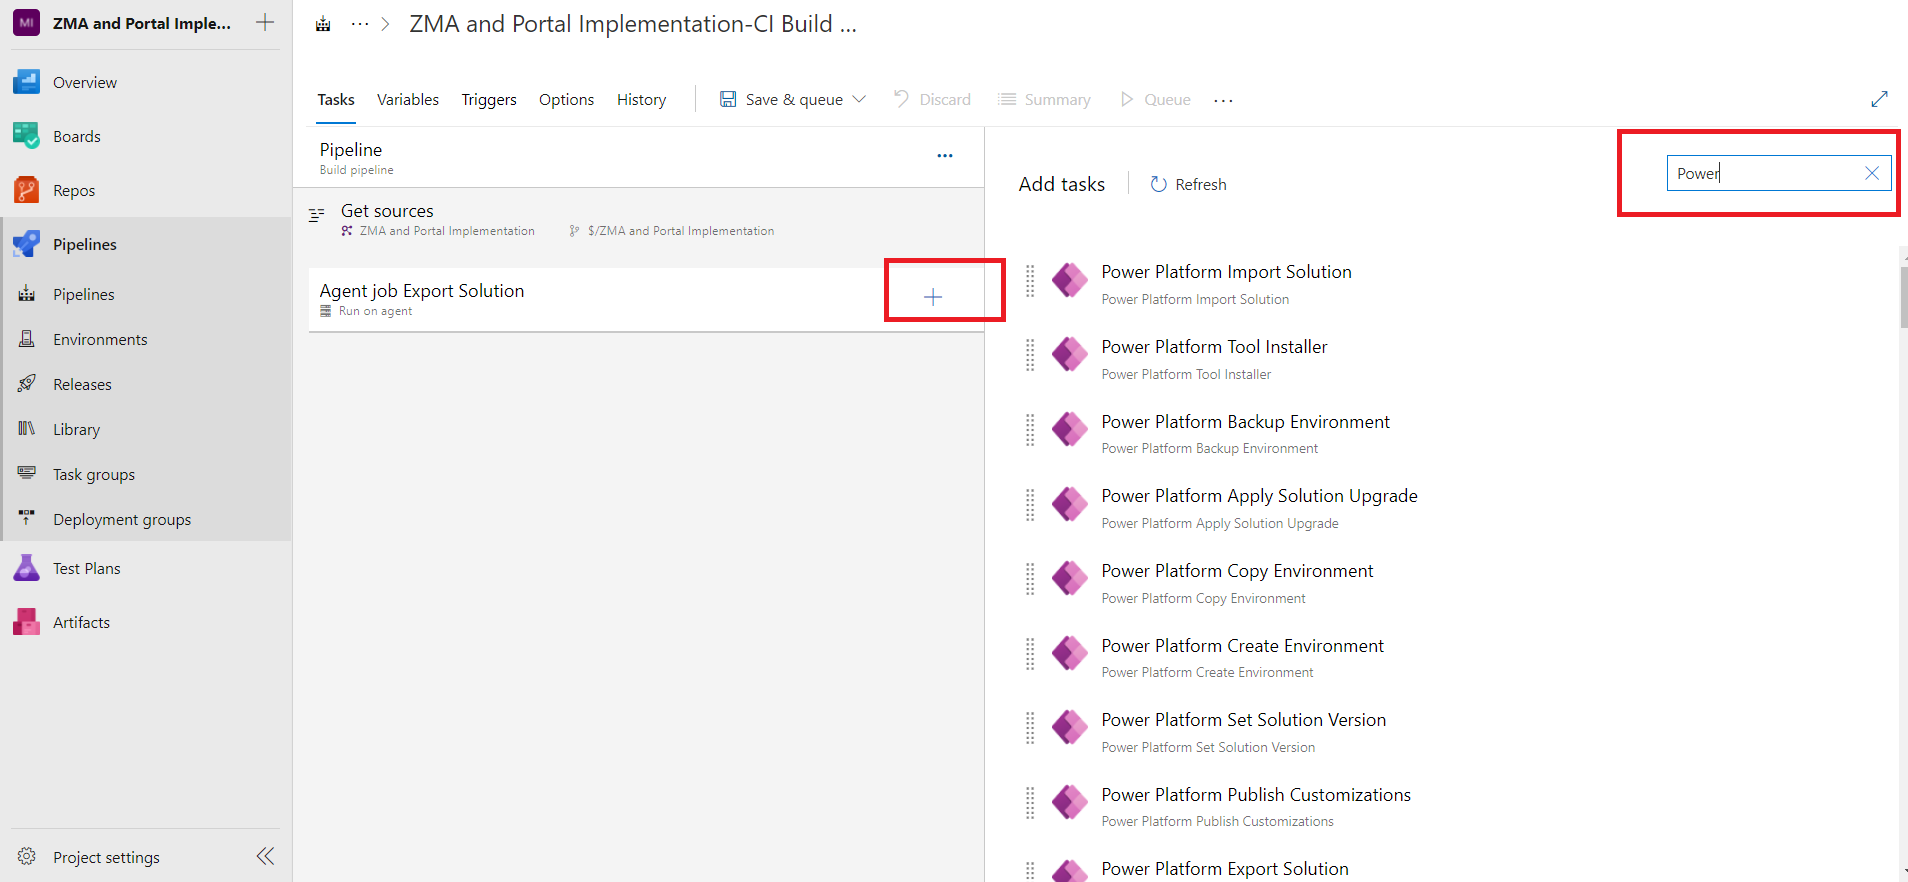
Note: If “Power platform Tools” is not already installed in your environment, you will get the option to download it from “Marketplace” for free. - Add the following tasks
“Power Platform Tool Installer” will install the Power platform tool in the Agent Job.
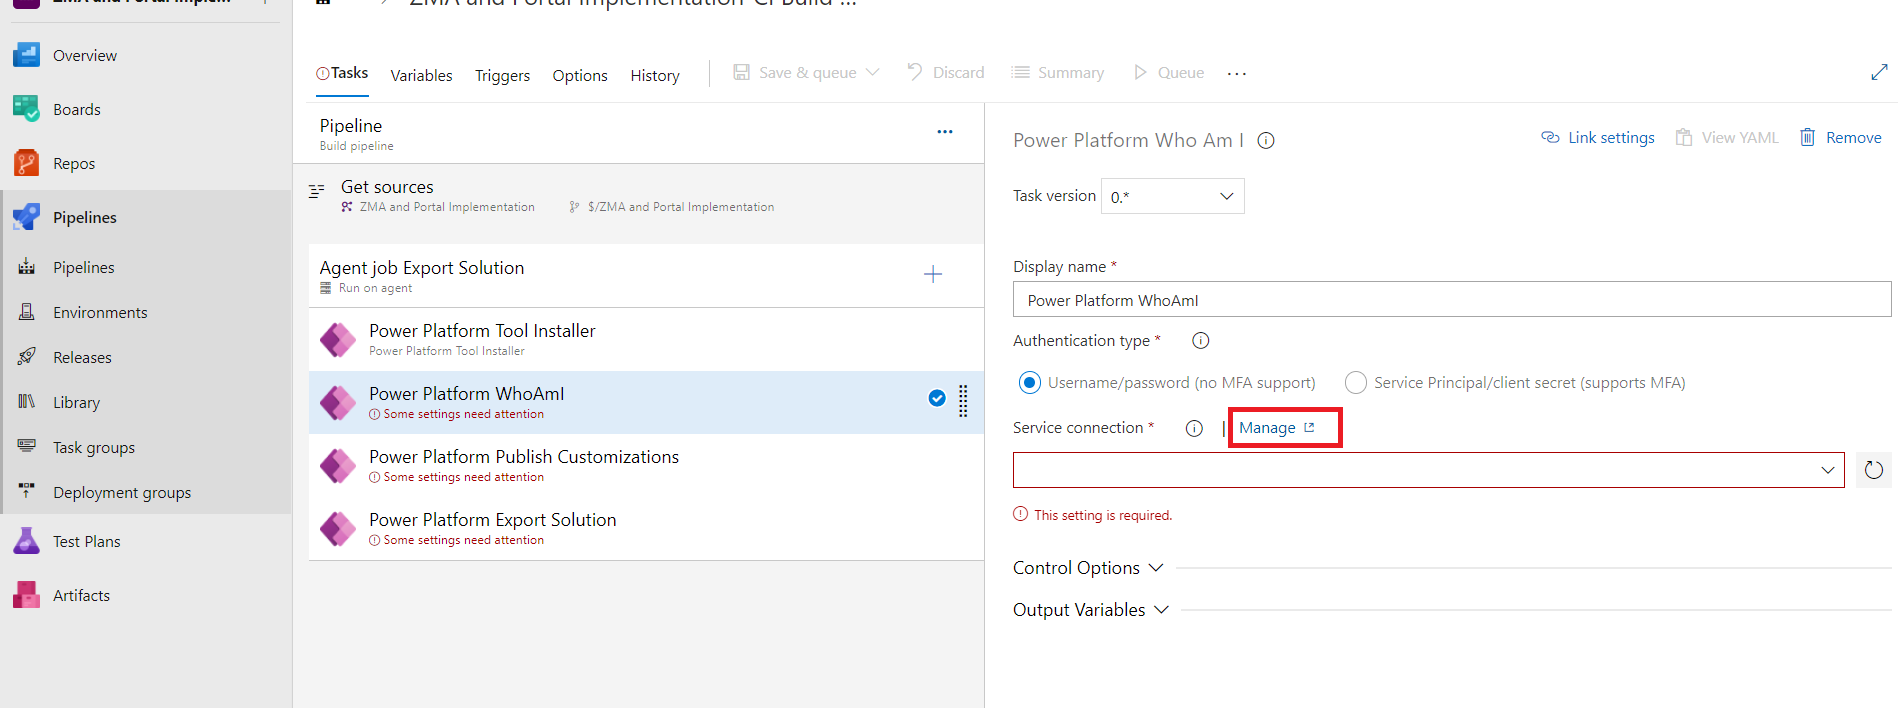
“Power Platform WhoAmi” this is just to verify the connection of the environment.
But if the connection string is not already configured it can be done by
Click on “Manage” as highlighted in above image and you will be redirected to the Project Settings page, there you need to click on “New service connection”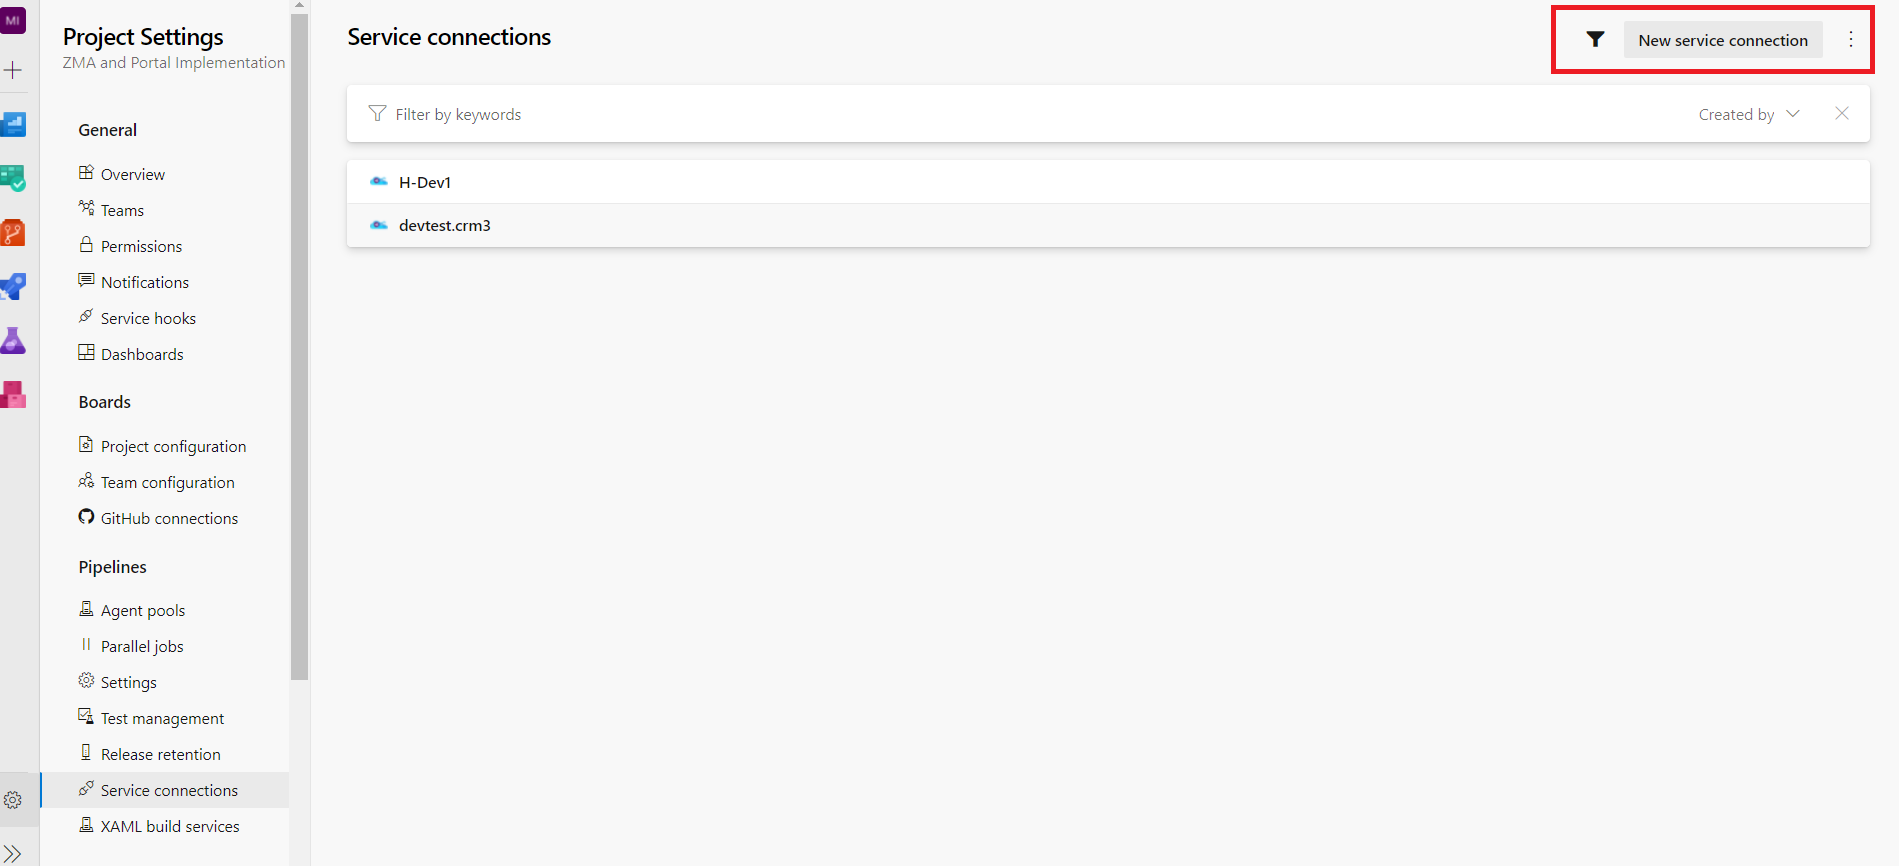
Now search for Generic connection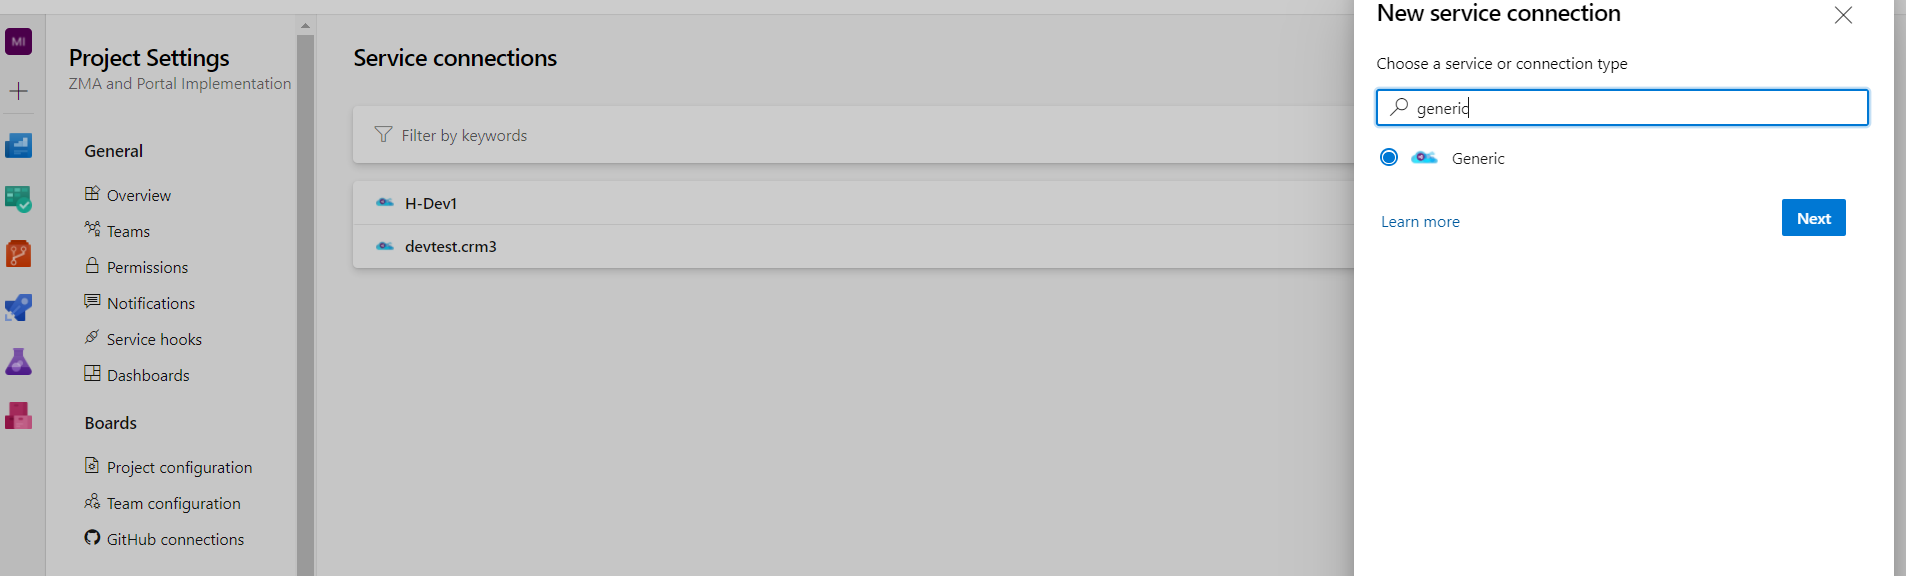
Now you need to provide environment url, username, password and set any connection name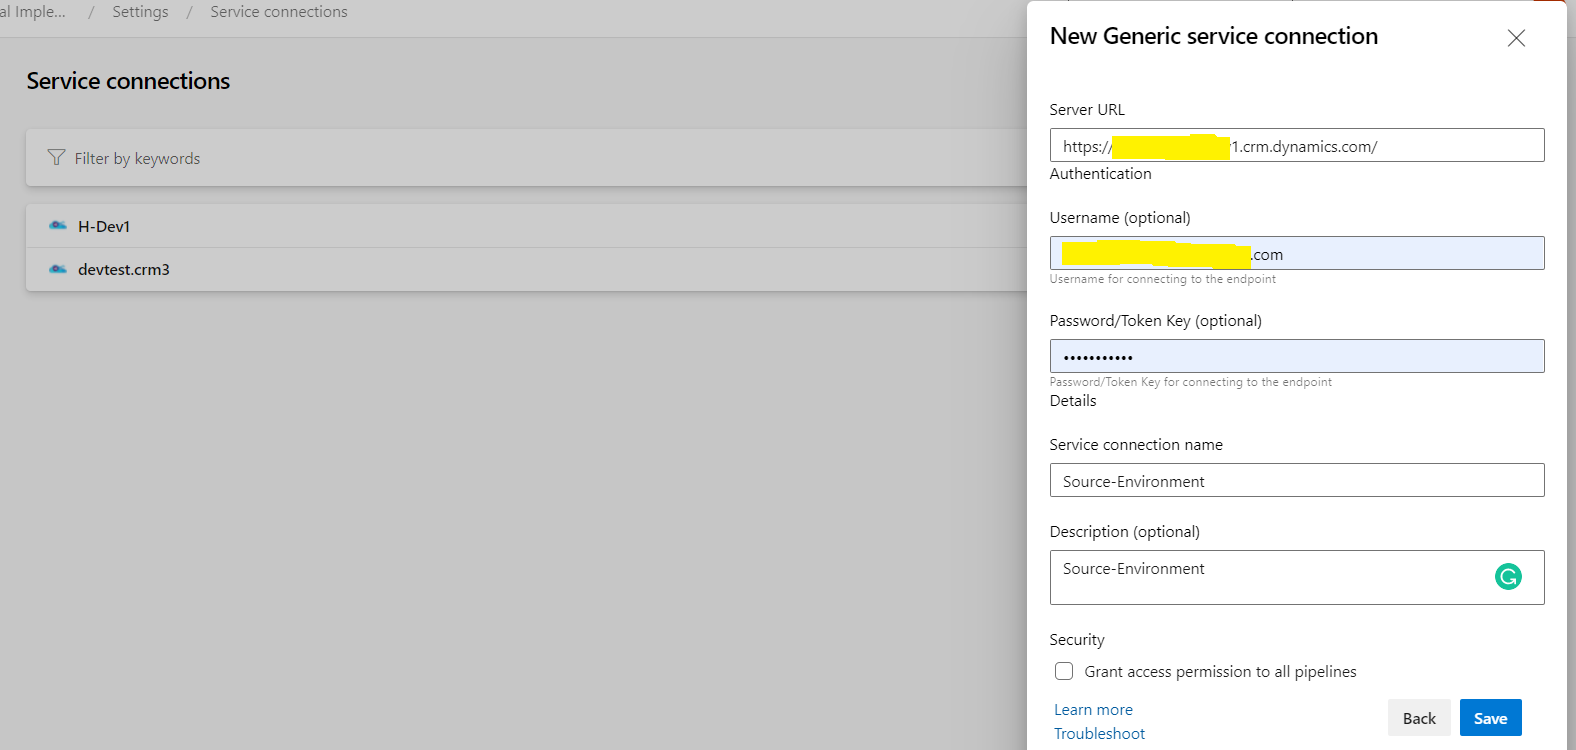
Now if you go back to the Build Pipeline tab and only refresh the Service Connection drop down you should be able to see the above connection you just have created and you can select it for all the tasks.
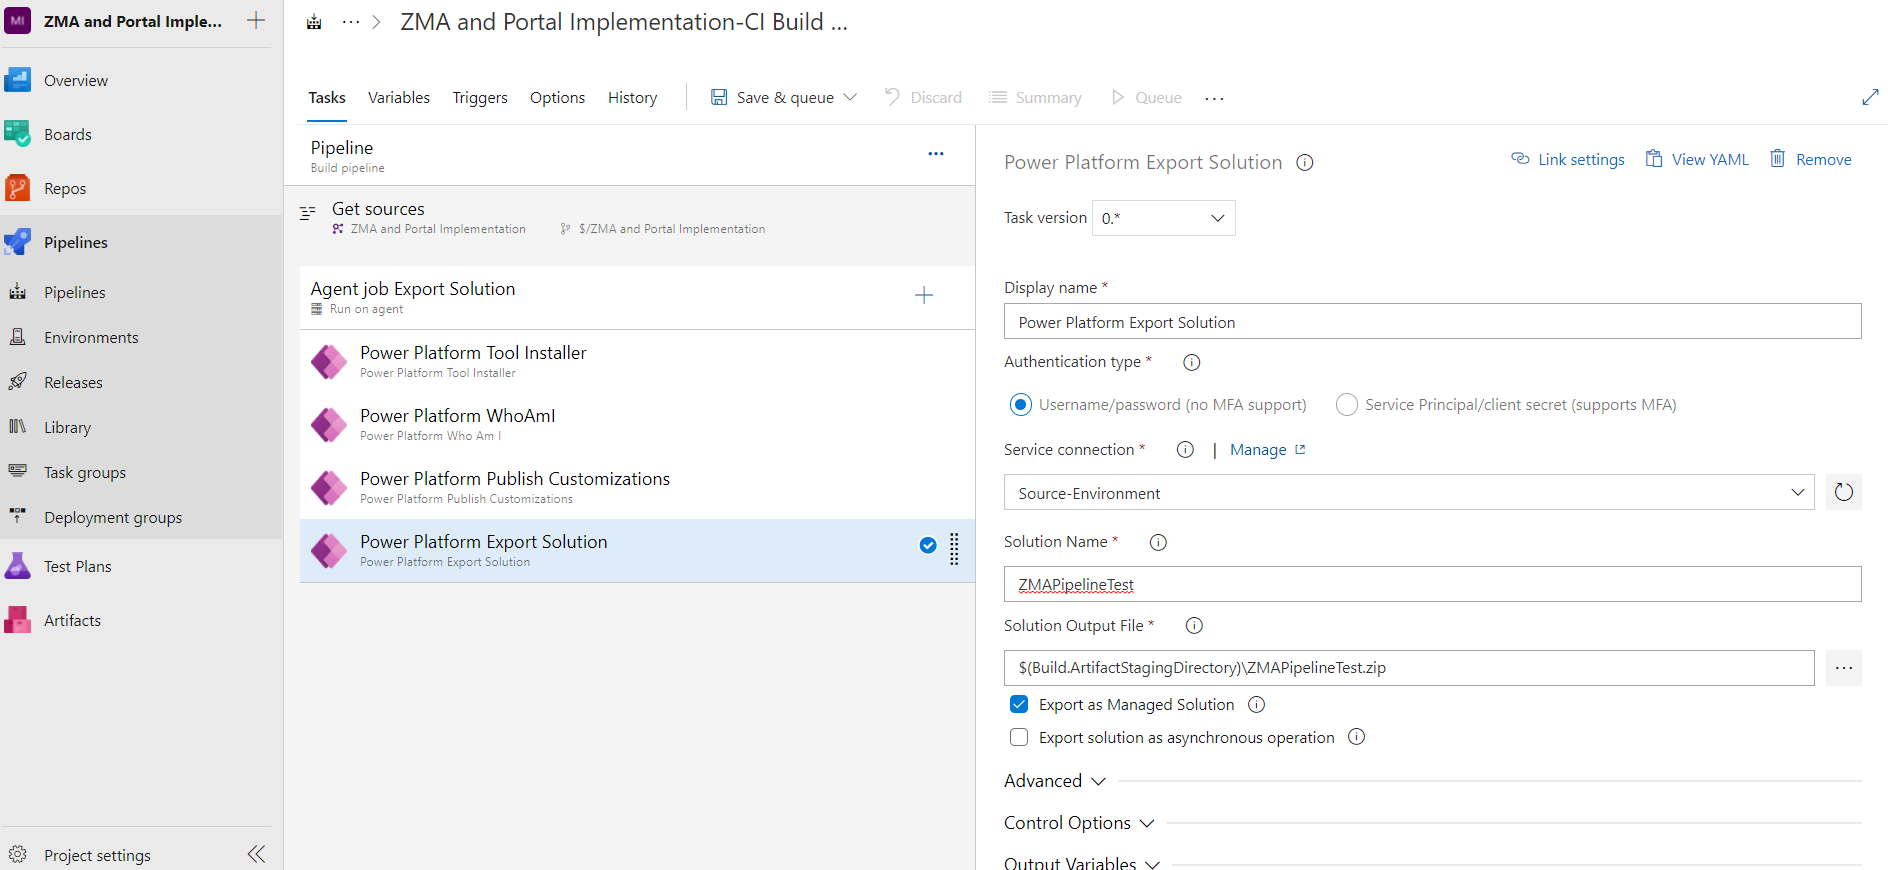
- Now in Export Solution task we need to provide the solution name, solution output path and I will be exporting this solution as Managed to deploy in to the test environments.
D365 CE Solution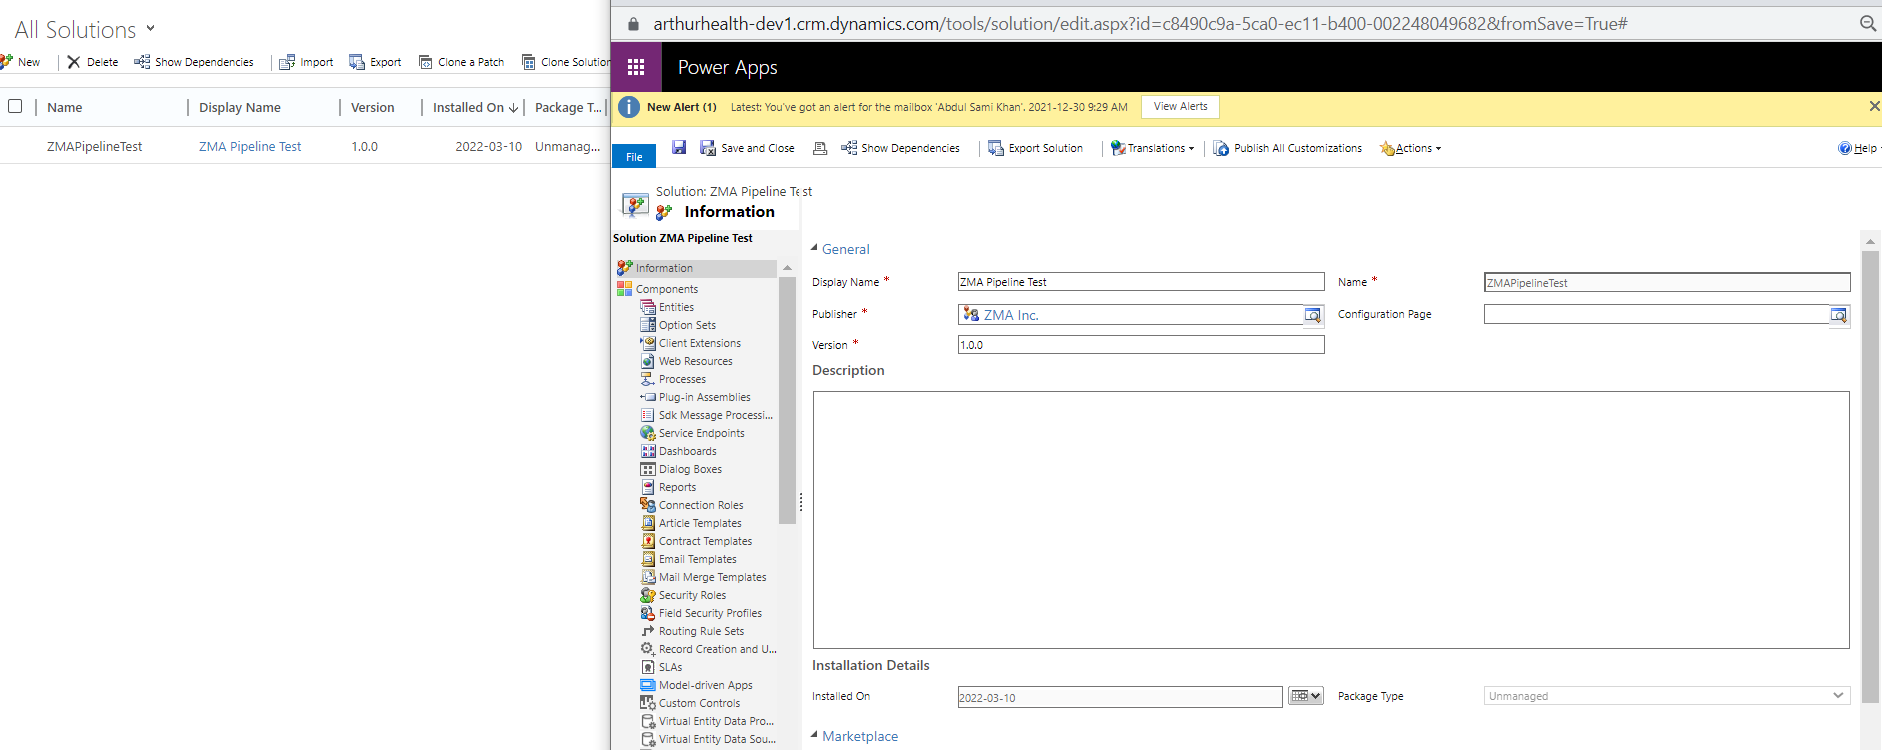
- Now you need to add one more task “Publish build artifact” that will publish the artifact which will be created in previous step
In “Path to publish”, add the output path of the previous step: $(Build.ArtifactStagingDirectory)
Now your Build Pipeline is completed and we can start the Release Pipeline!
Release Pipeline
We will use the Release Pipeline to import the exported solution from build pipeline in multiple target environments .
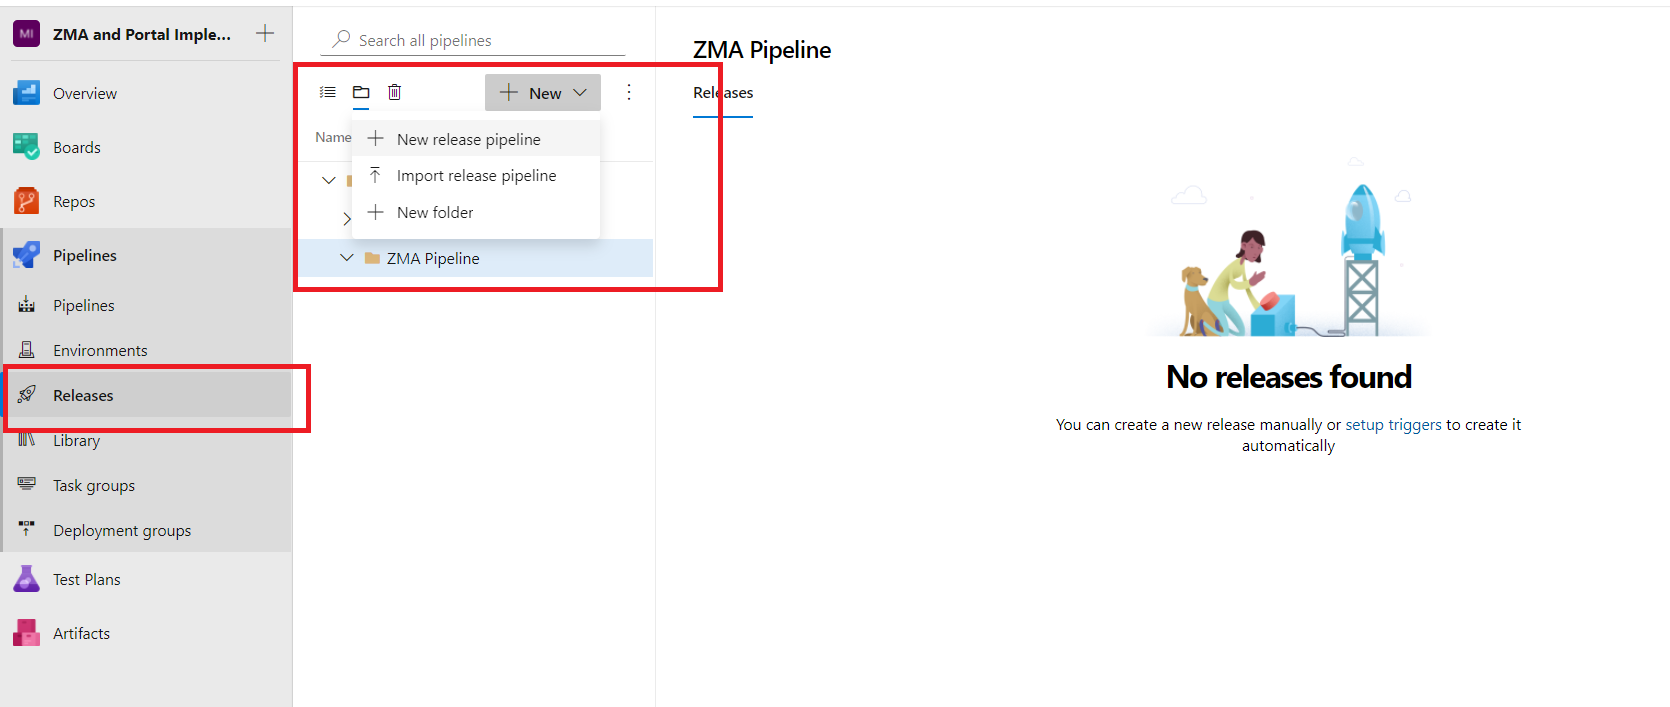
- From the side menu go to “Releases” tab and create a New Release Pipeline.
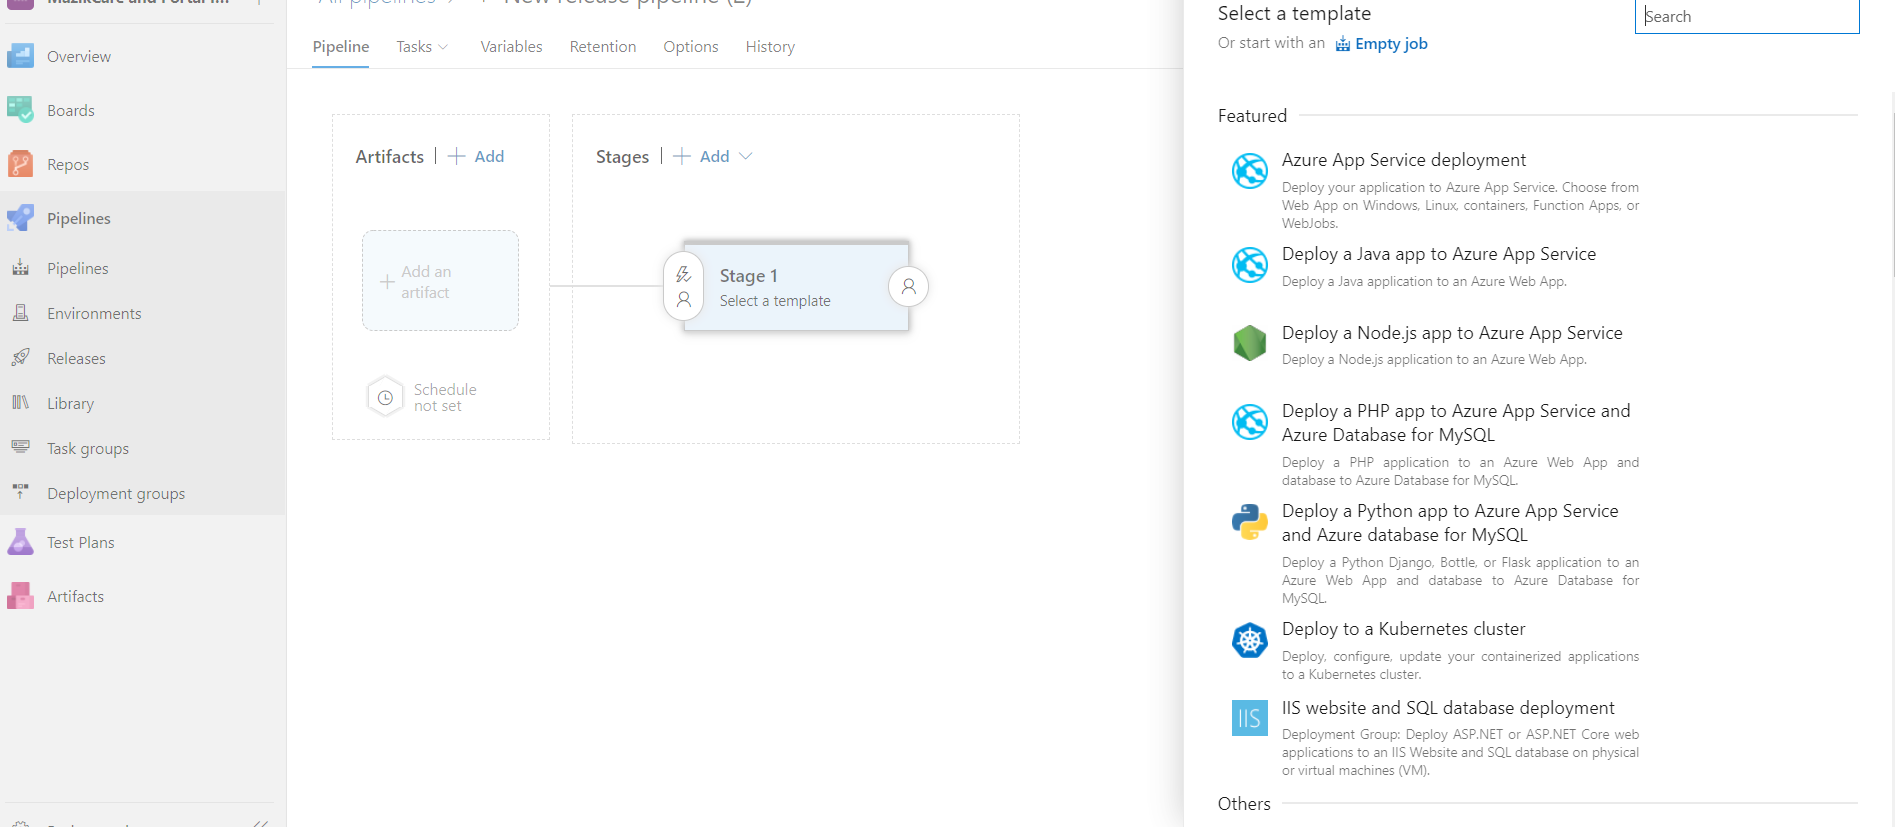
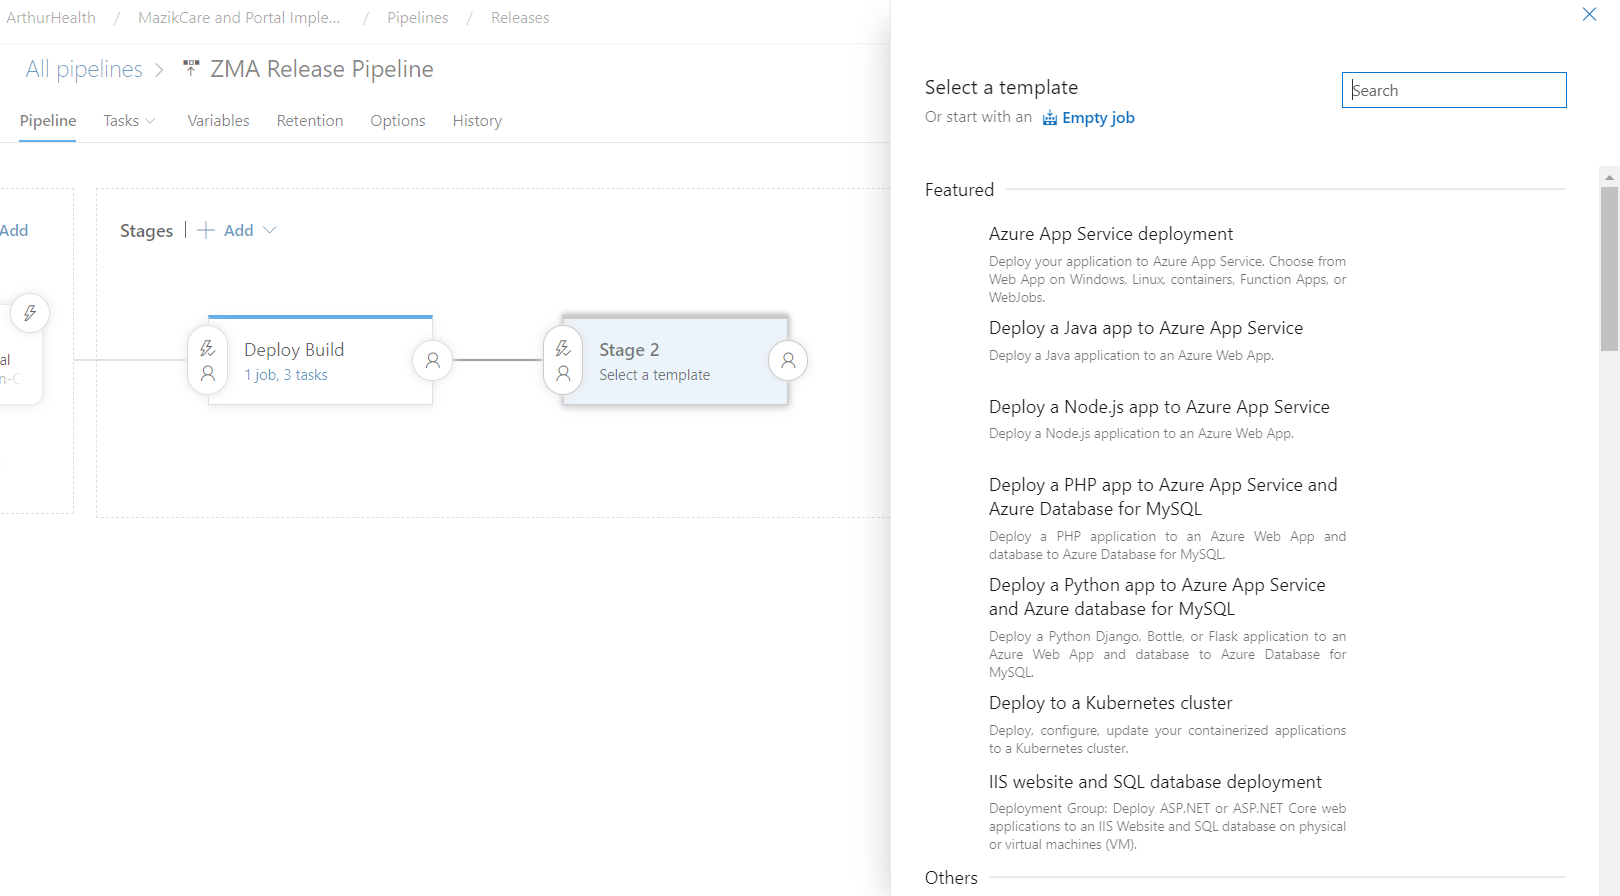
- We will start with the Empty Job.
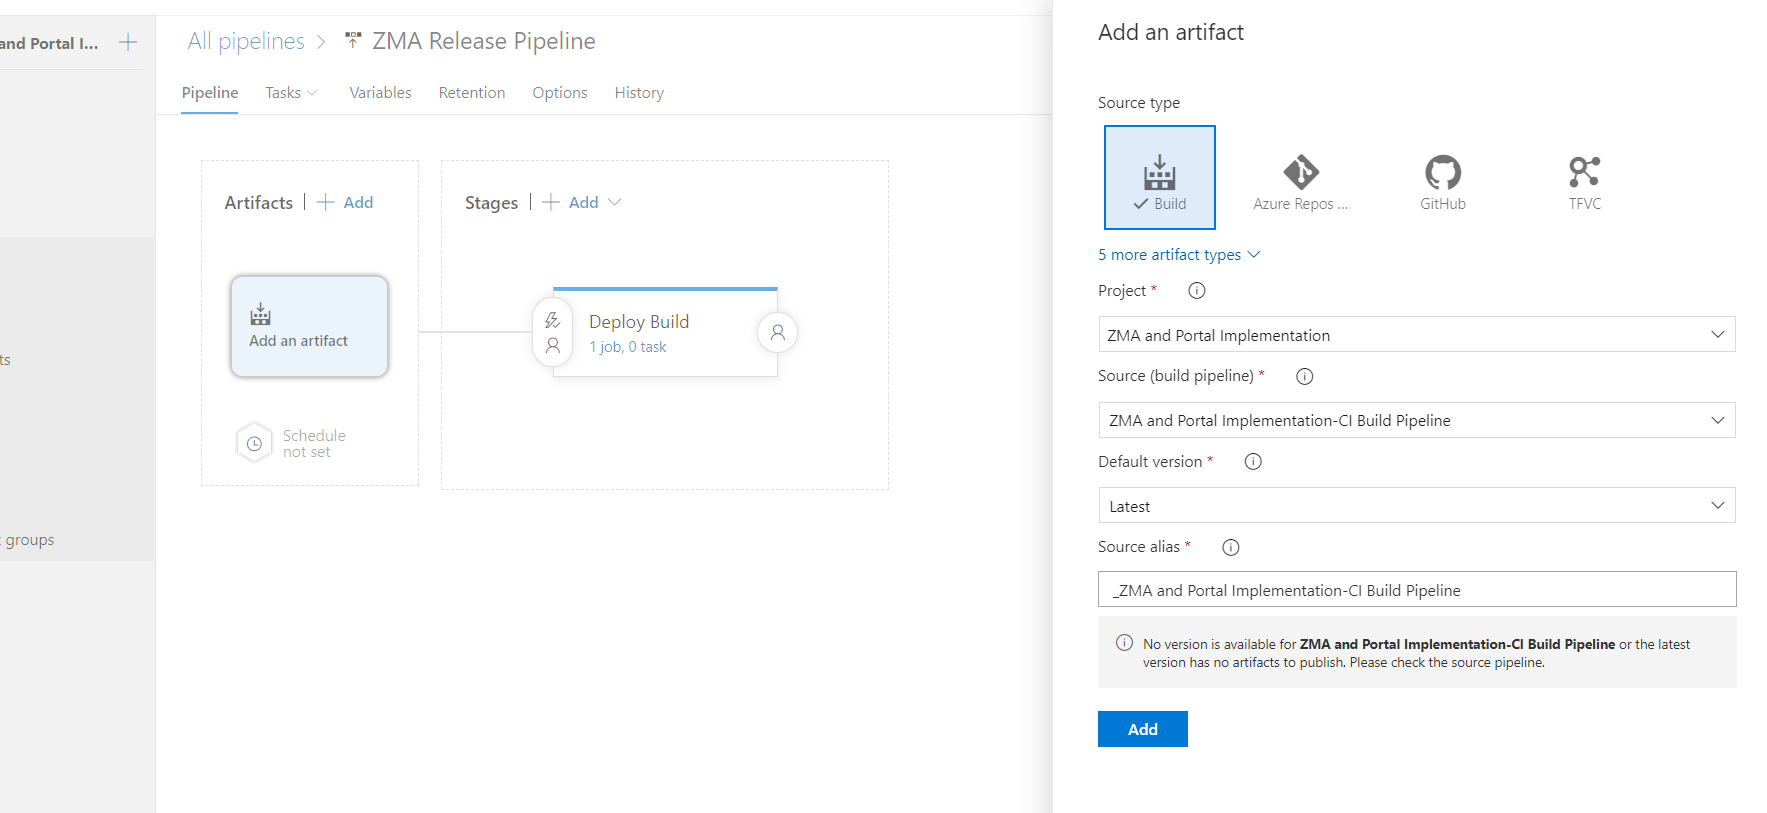
- Add an artifact, select the same project and in source select the above created Build Pipeline.
- I have renamed the stage name and agent job display name.
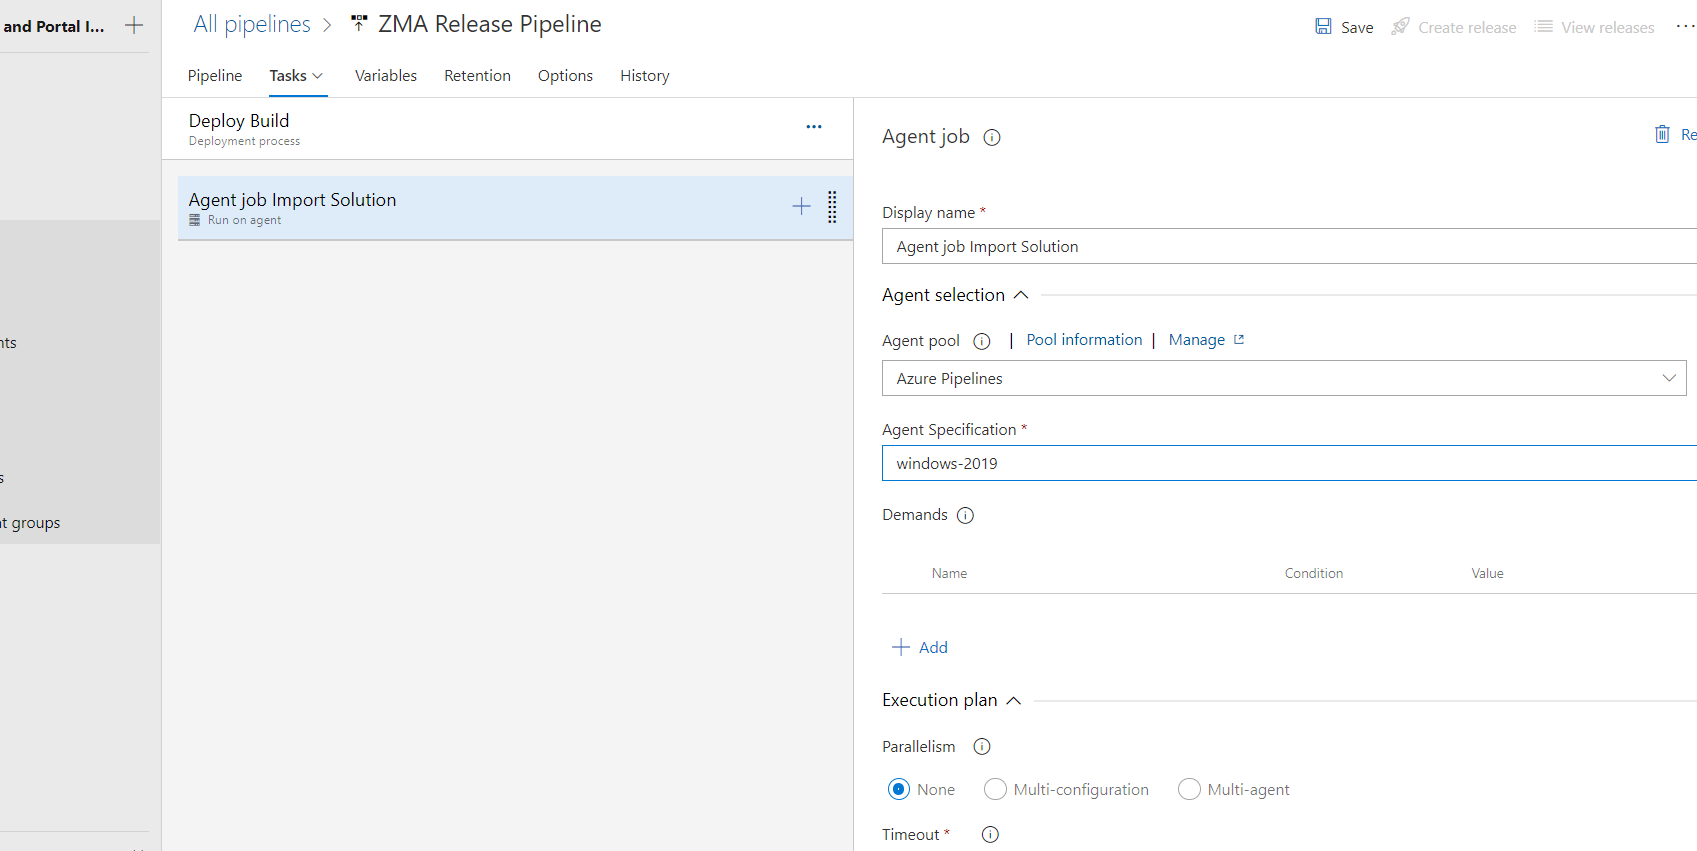
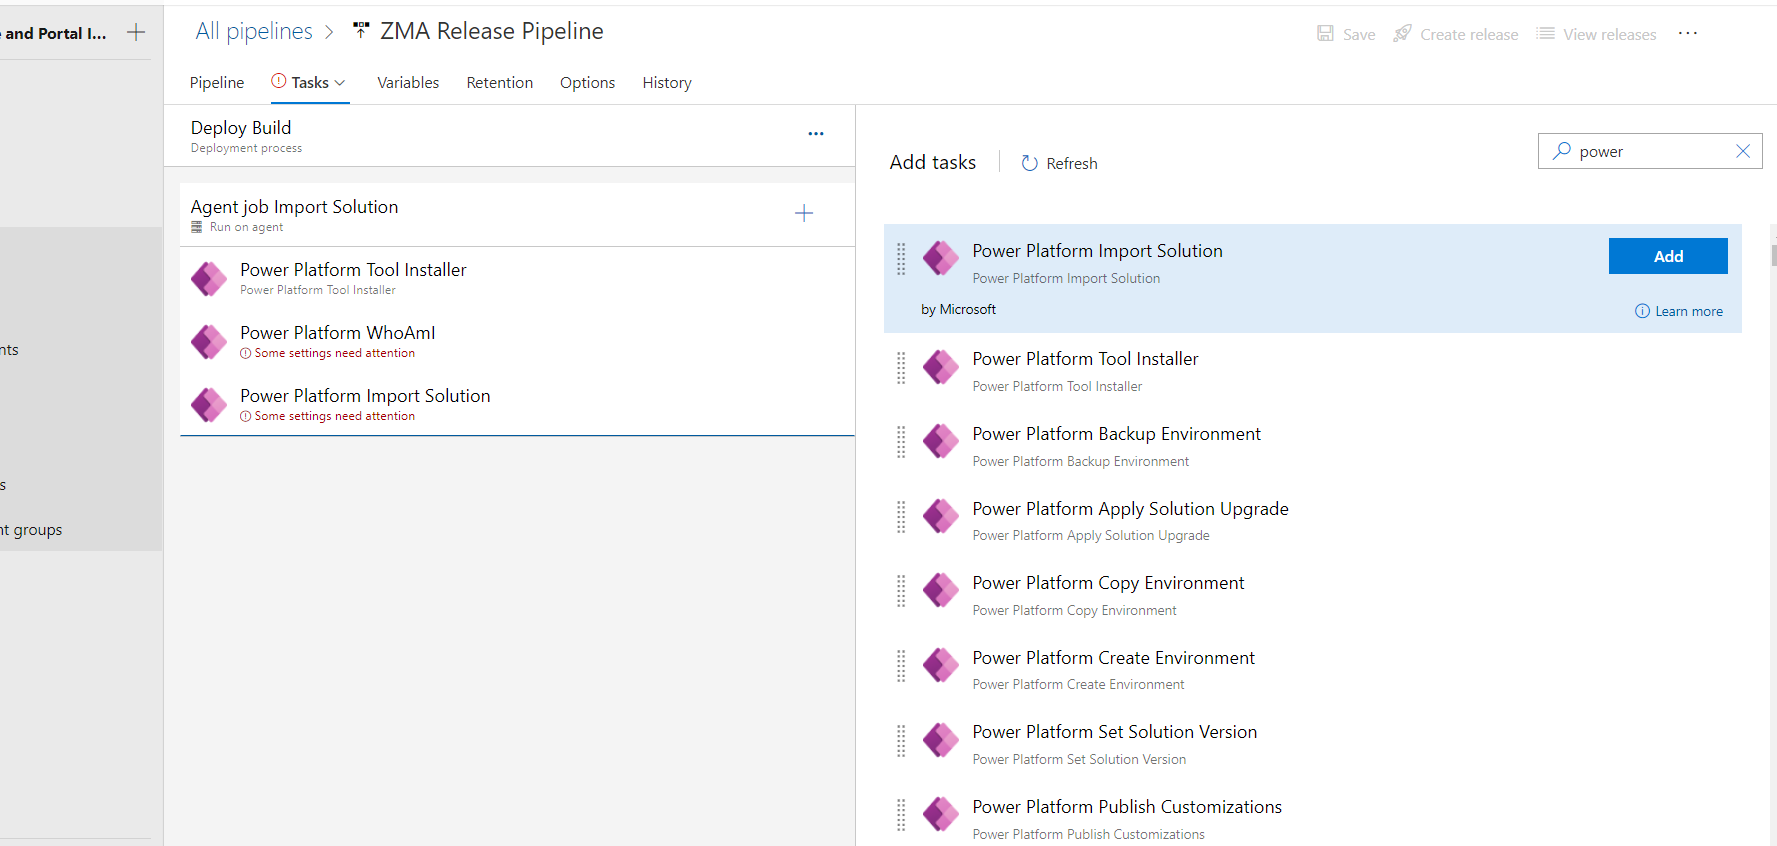
- Now you need to add below tasks to import the solution in destination environment and I have already discussed the first two steps in Build Pipeline steps.
- In import solution task, for service connection I have created the new connection for test environment and select it here and for solution output file select the linked artifacts of build pipeline.
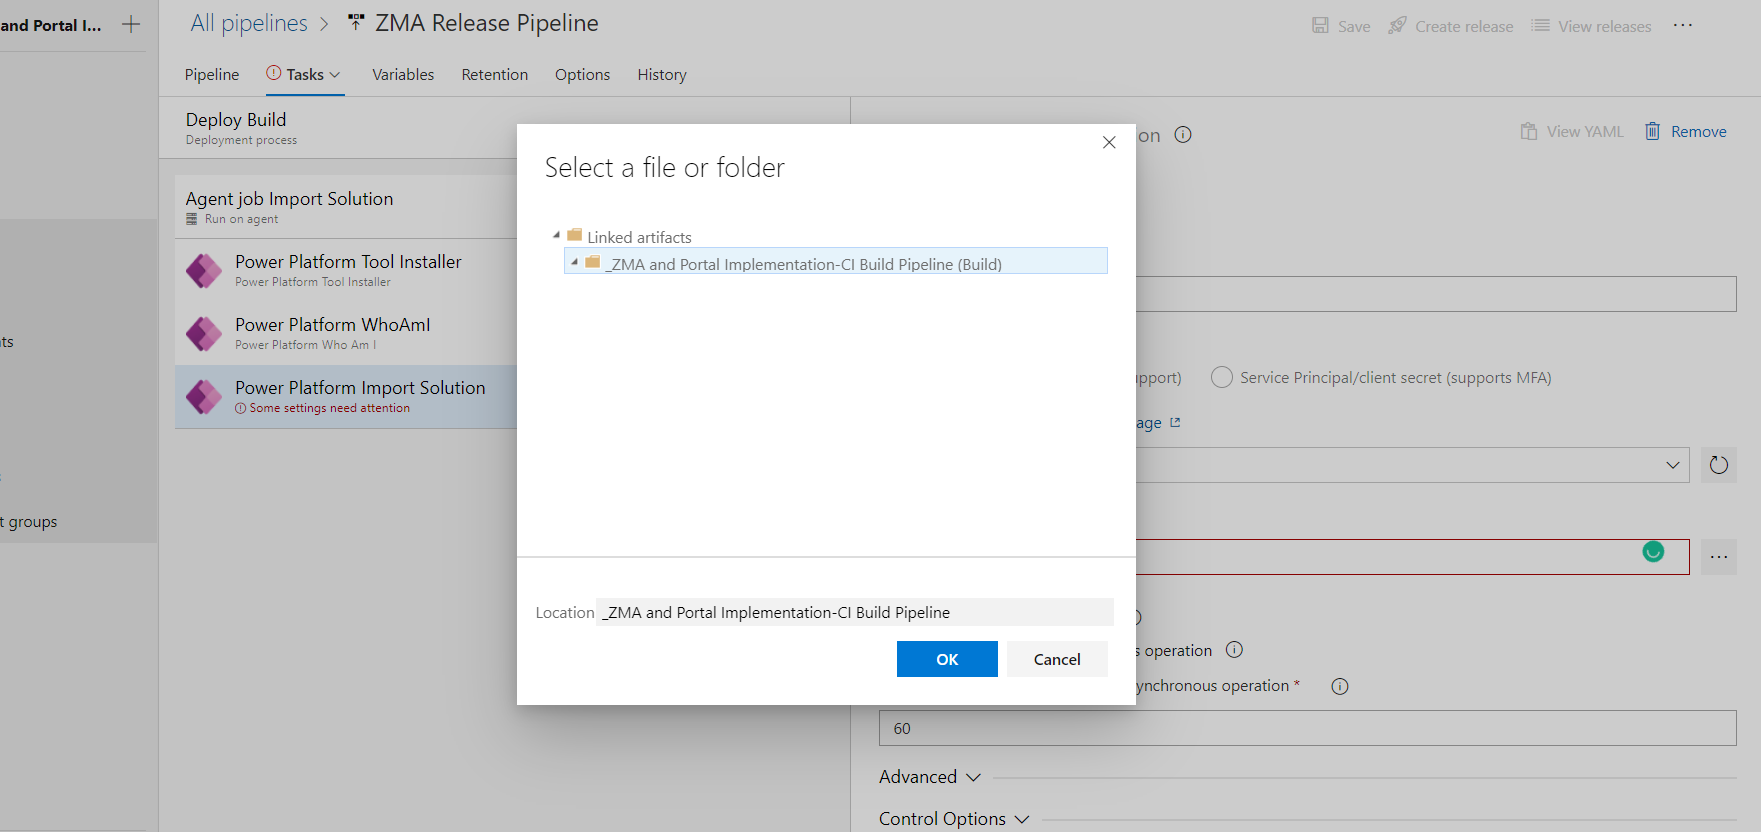
and append the Artifact and Solution name mentioned in build pipeline.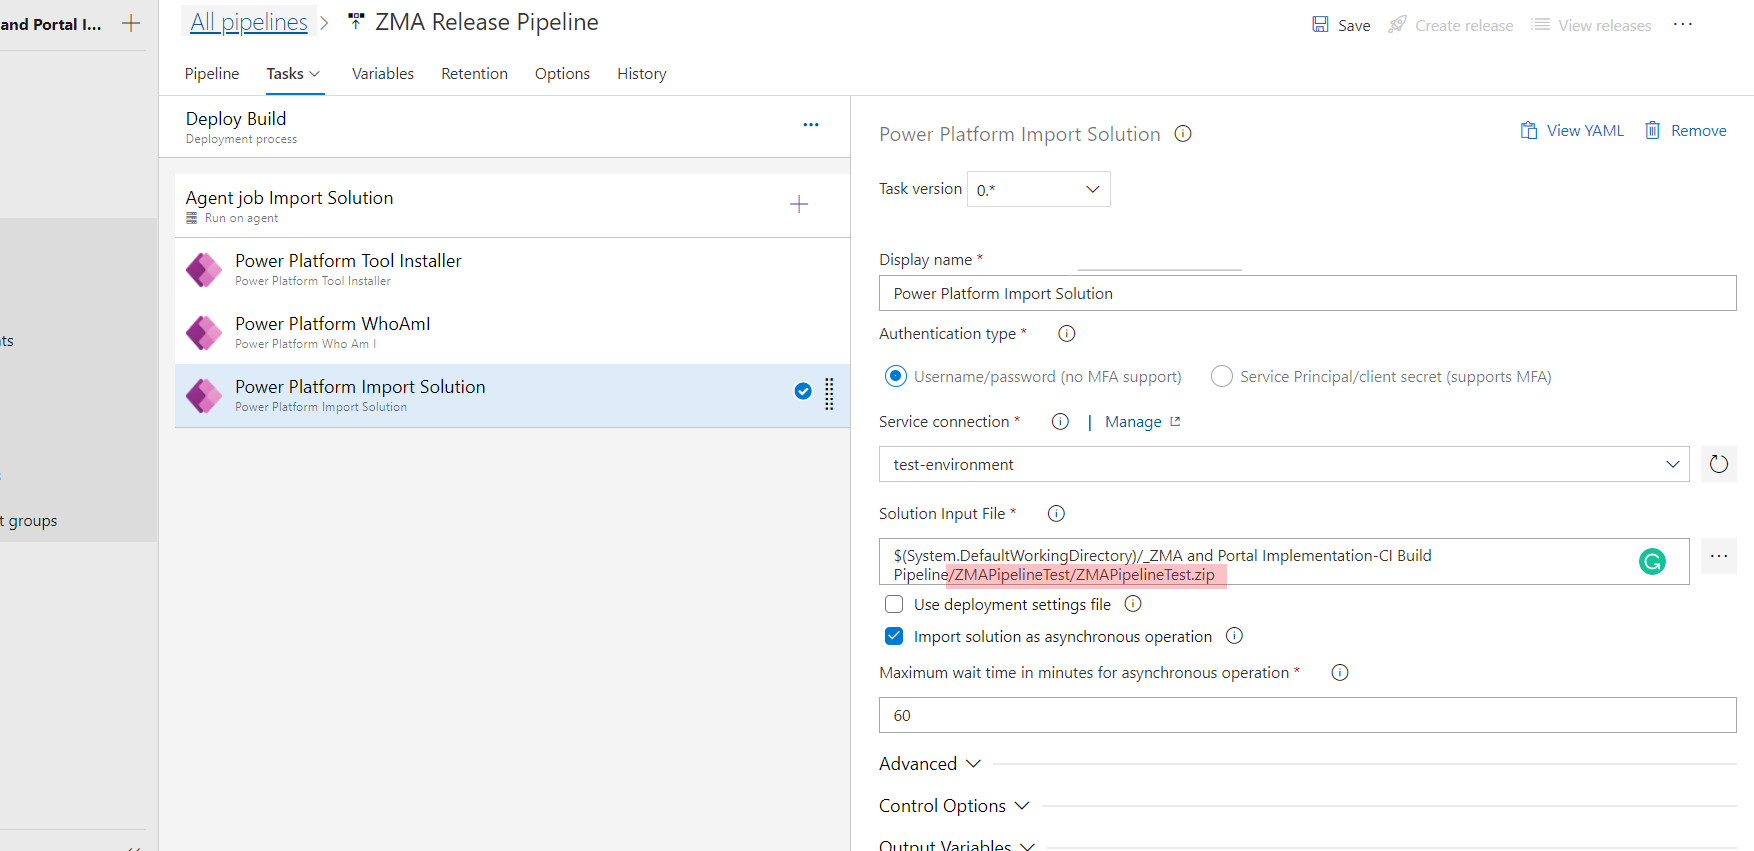
- Now I have added an another stage in the same release pipeline because I want to deploy the exported solution from build pipeline into two different test environments.
After selecting the empty job I have added the same tasks with different service connection.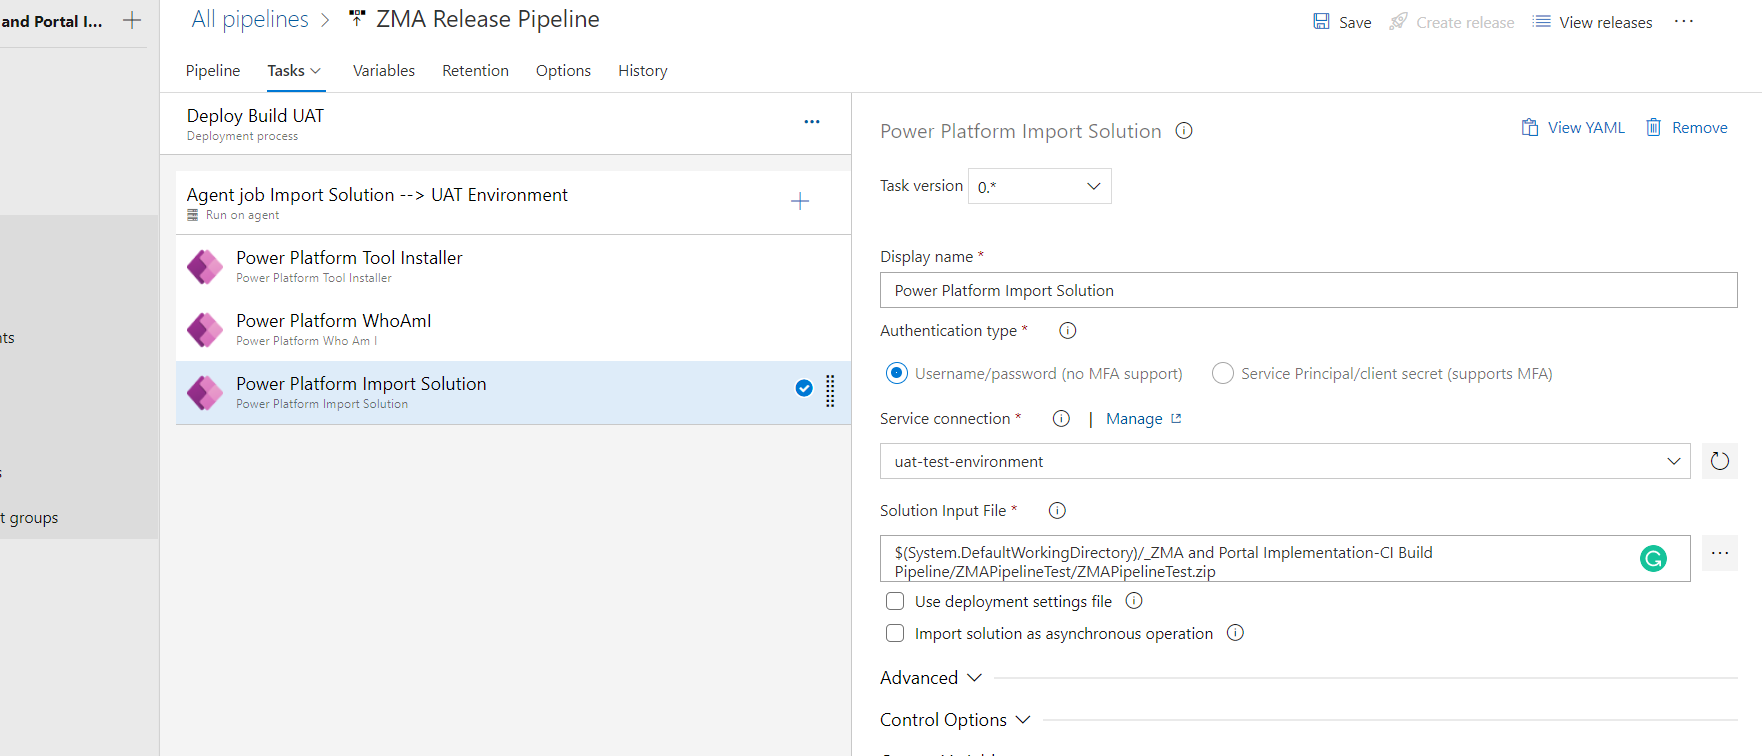
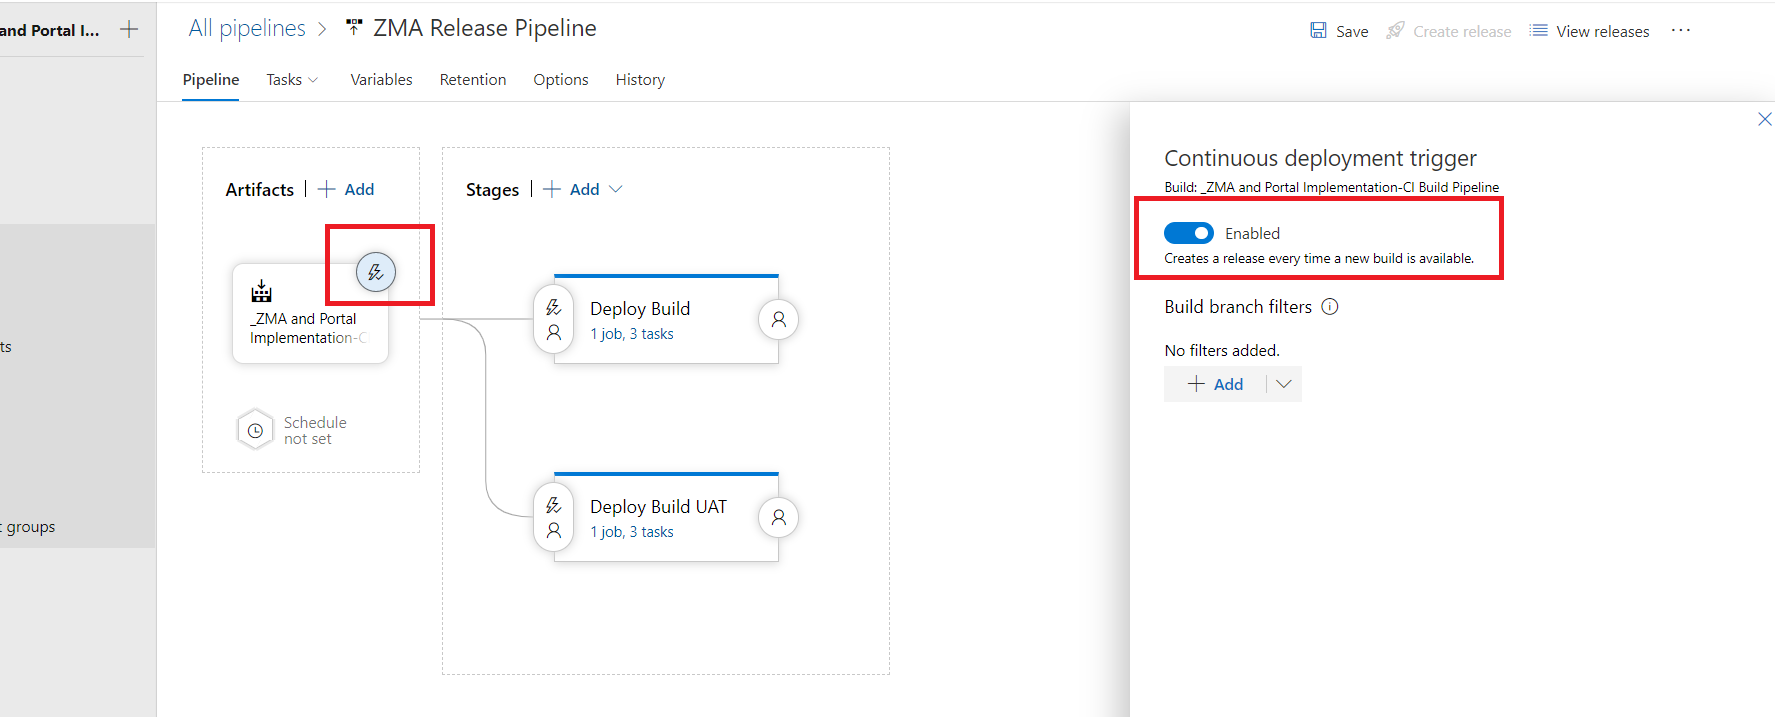
Note: If you want to deploy the build only in one environment you can can skip the above point no 7. - Now in the pipeline tab, select the “continuous deployment trigger” icon and click Enabled. This will automatically trigger the Release pipeline after the build pipeline is run.
- Now I have added the “Pre-deployment approvals” for one environment (stage) because as we know this is the automated process but we can keep control of the deployment for any specific environment because sometimes approvals are required from the environment owners or higher management.
I have added my own user in the Approves list. I will receive an email once the release pipeline is triggered and I can approve or reject the “Deploy Build” stage tasks.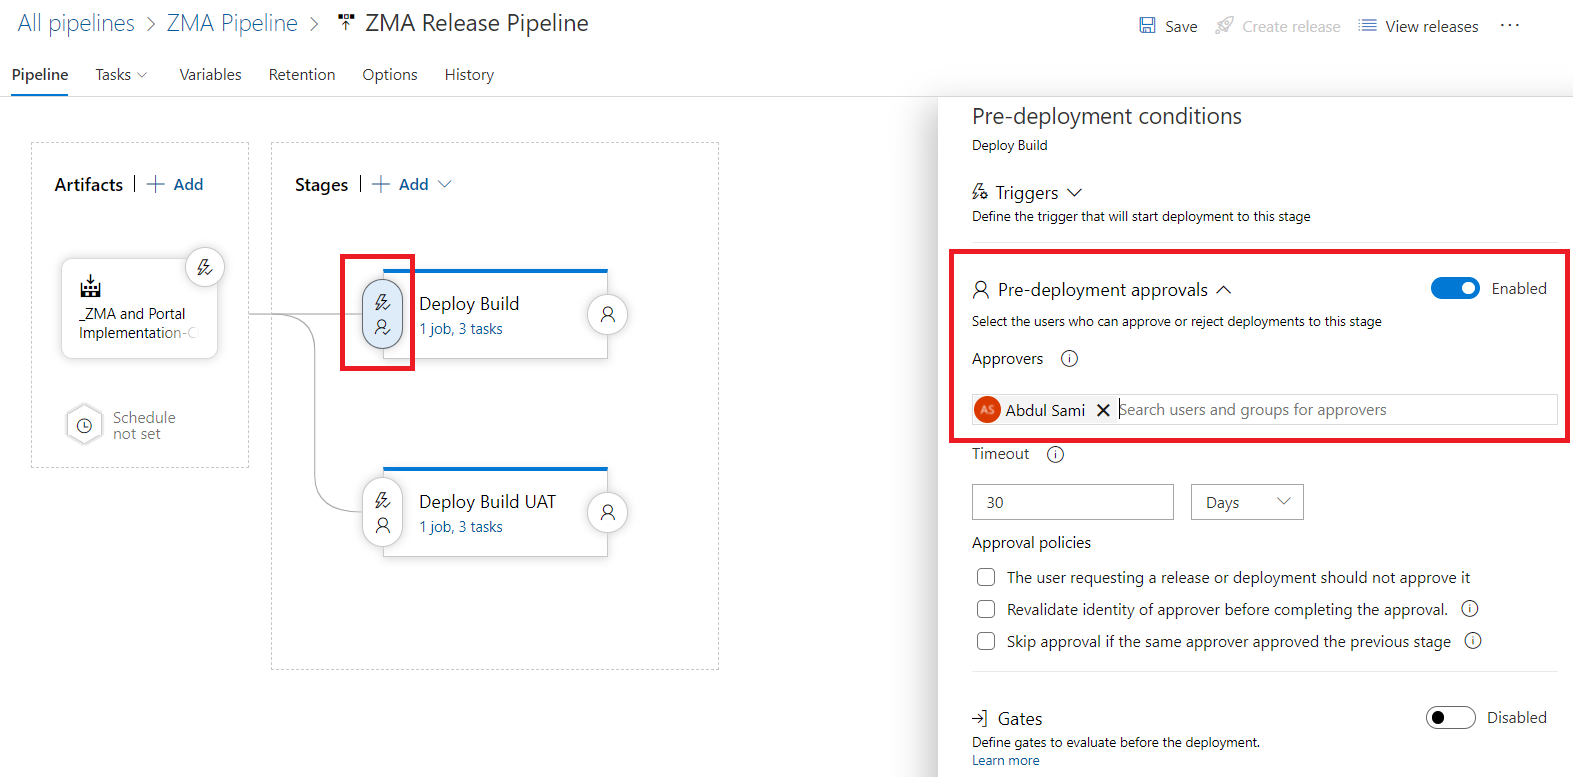
Build & Release Pipeline Test
I have a solution in Dev environment and I want to deploy this solution in our two test environments as a managed, For one environment I have added a Pre-deployment Approval.
I have manually triggered the Azure Build Pipeline
Build Pipeline successfully ran.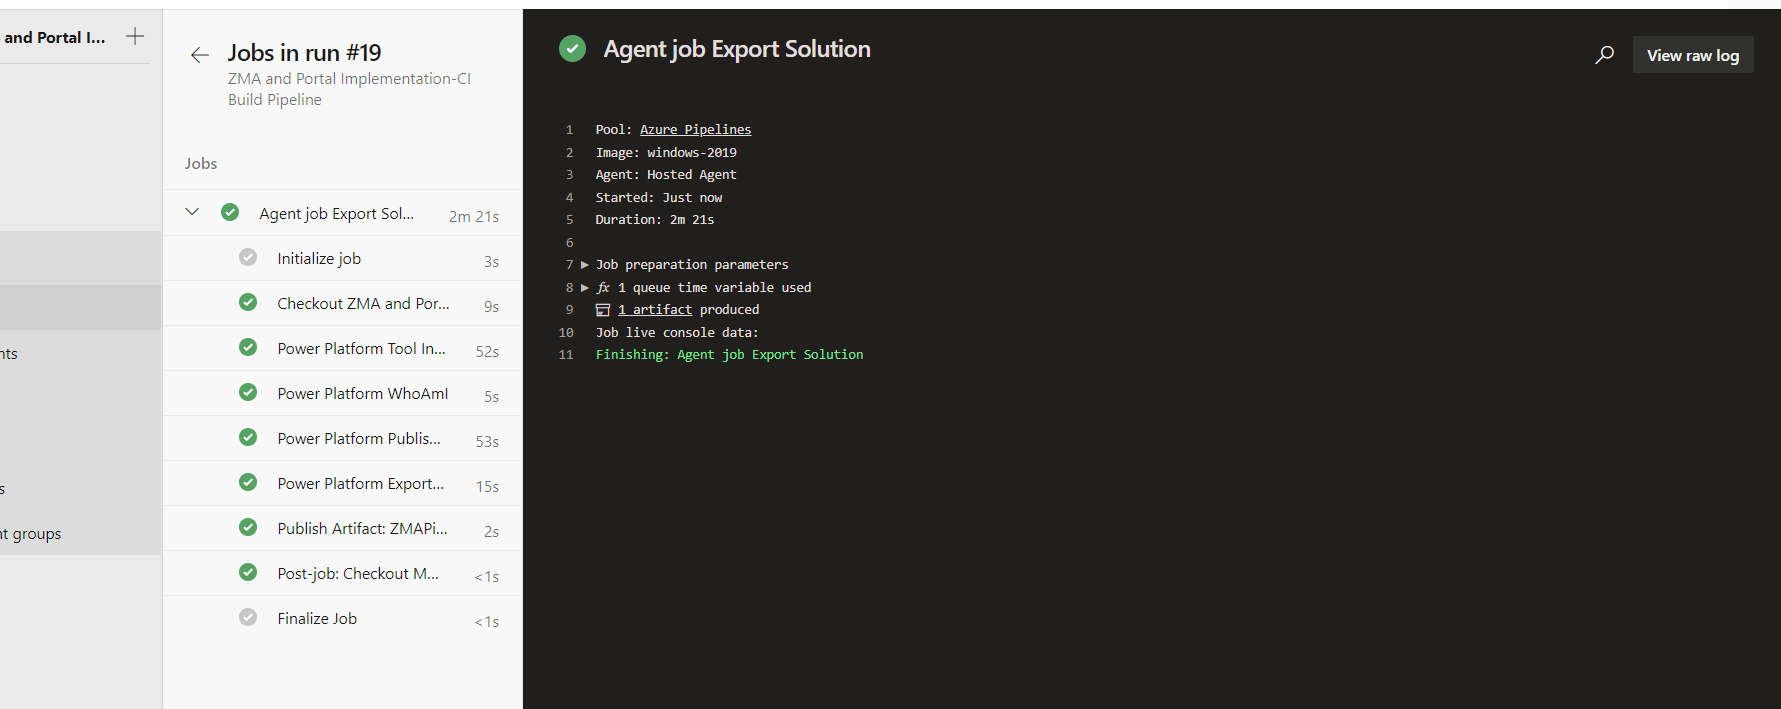
In Artifacts our Managed solution file is available.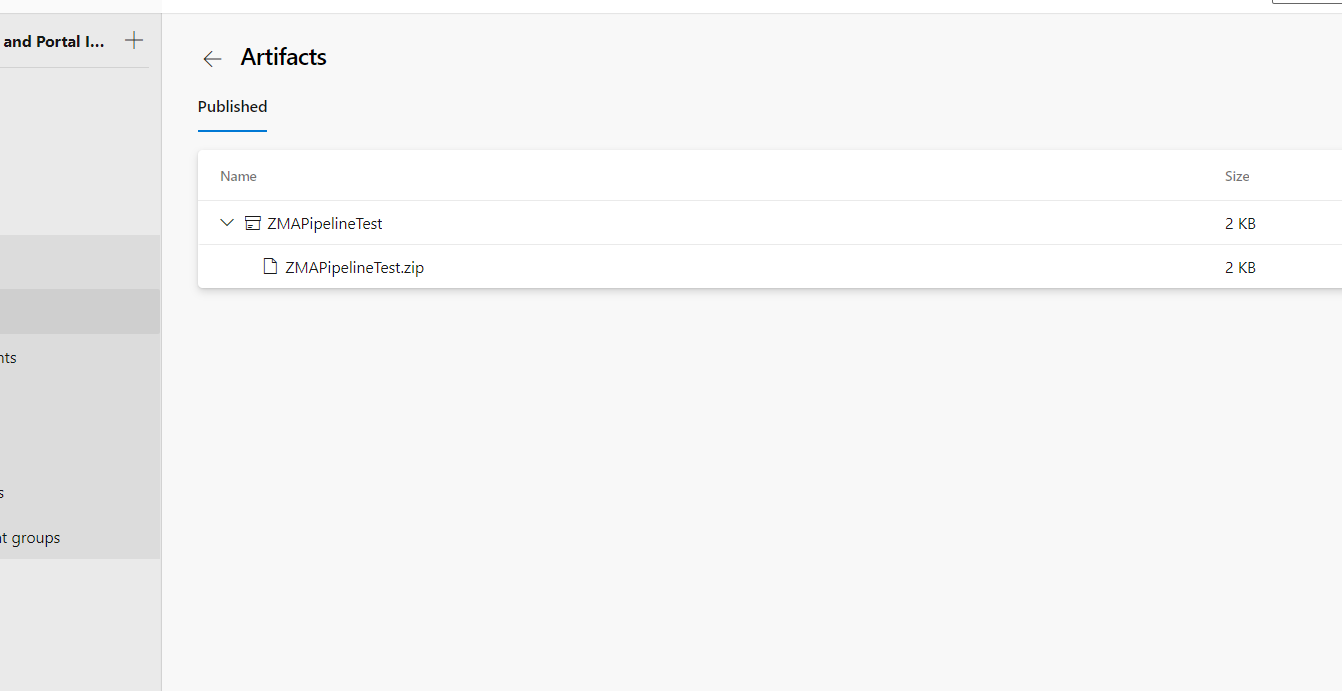
Now our Release Pipeline is automatically triggered and for one stage I have received an email to approve and for the second stage we didn’t set any pre-validation approval.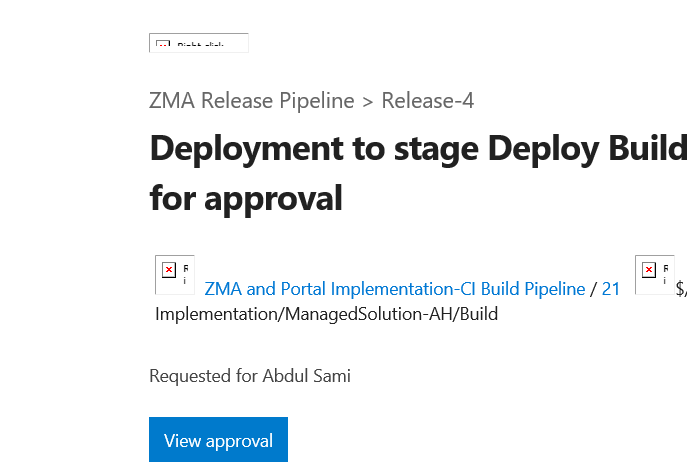
Once I approved the build it did get deployed in the destination environment.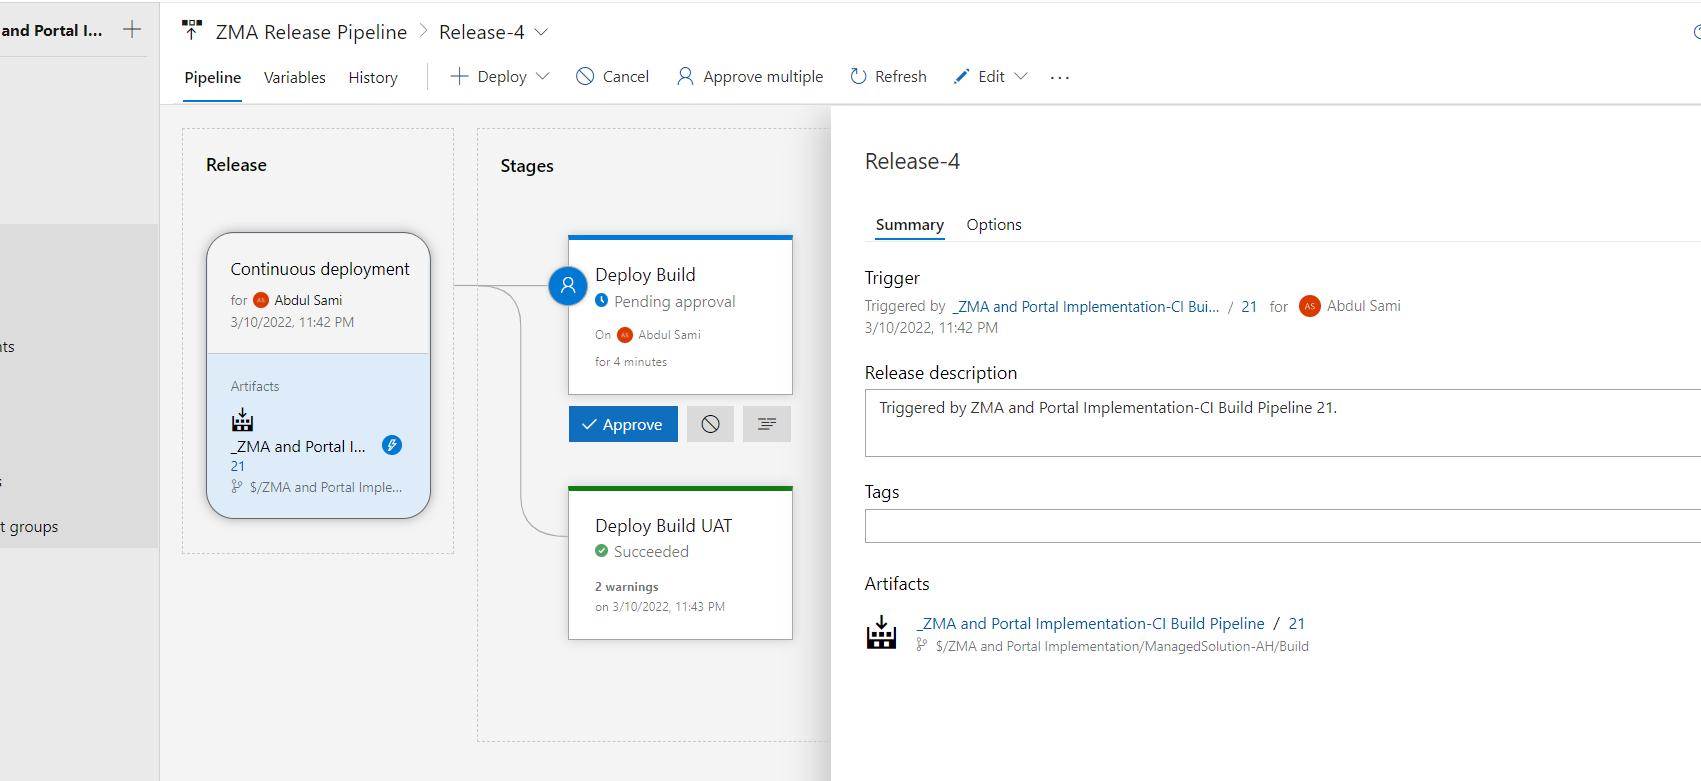
I have shared the solution history of one of the test environment.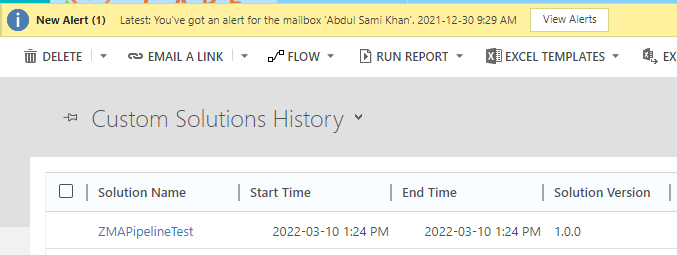
Now the “ZMAPipelineTest” managed solution is successfully deployed from one Dev environment to two test environments by using the CI/CD (Build & Release Pipeline).
Conclusion
There are several other options available in the Azure Pipelines which I have not used in this blog like setting Solution Version, push solution file in TFVC, send notification if run fails, few more pre and post deployment conditions and many more.
Hope this Article will help you guys to implement CI/CD for Dynamics 365 CE using Azure DevOps and Power Platform.